dbt Core Tutorial Part 1 - Setting Up Your Data Warehouse
To begin our tutorial for dbt core in Platform, we need to setup an example dataset to work with. This guide will follow the steps in dbt's tutorial, however, we will setup the following cloud data warehouses:
Before getting into the steps of setting up the different cloud data warehouses, please download the sample files that we will use for this tutorial here.
This tutorial assumes that you have an account created for your chosen data warehouse. If not, please go create an account before proceeding.
Bigquery
Set-Up demo project
- Navigate to the BigQuery Console
- Click to access the Project Browser on the top left corner of your screen.
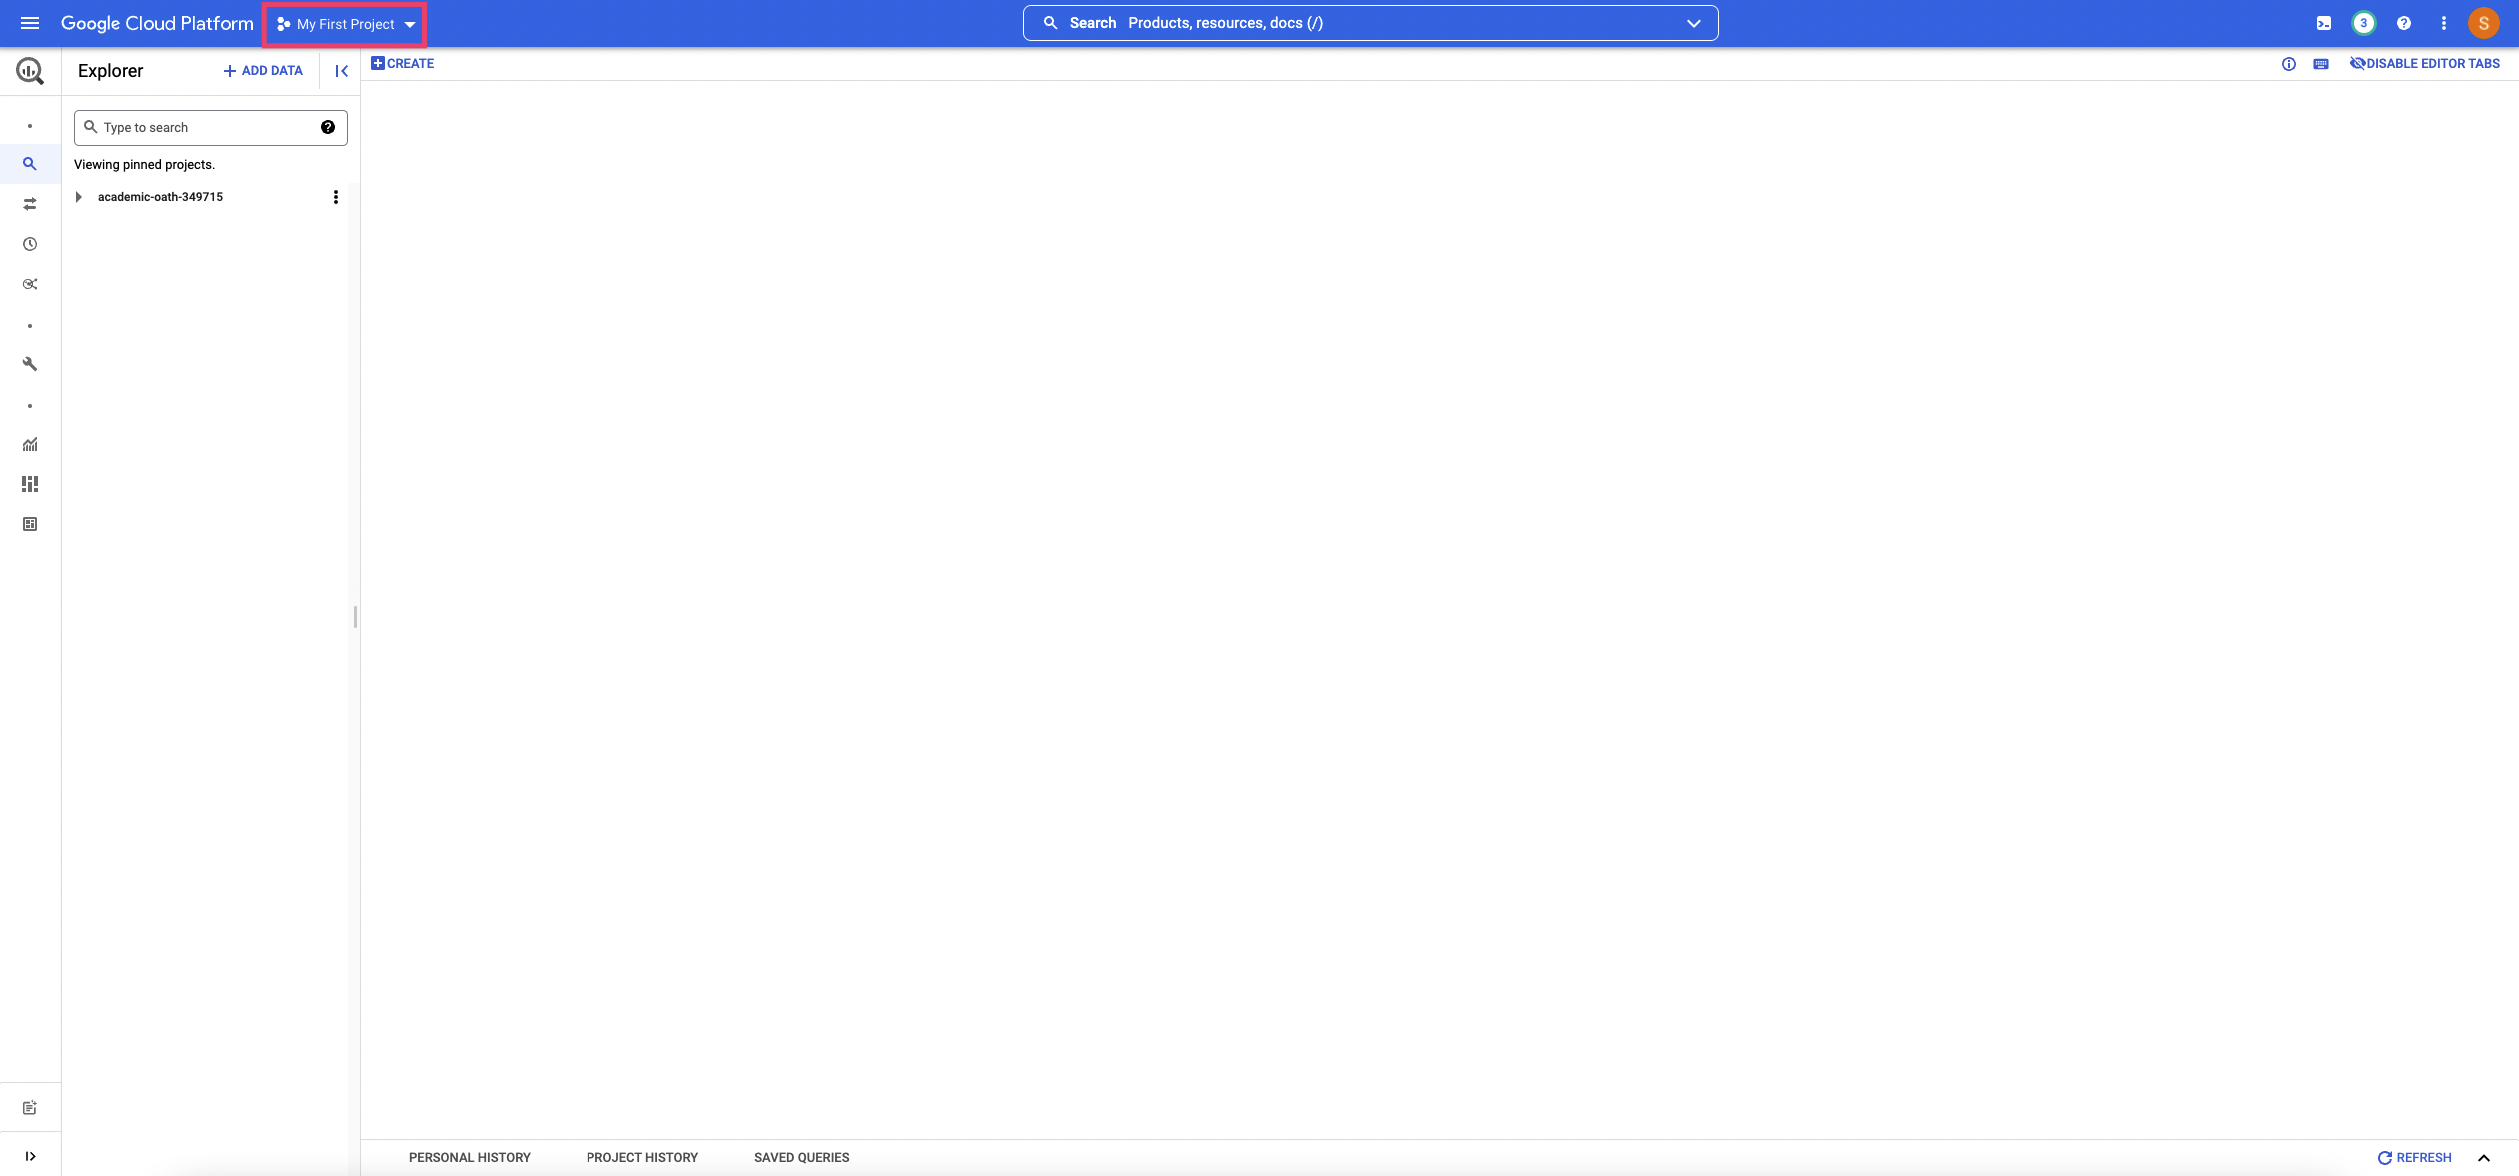
- On the top right of the Project Browser, click New Project. This will redirect you to put information in about your new project.
- Under Project Name, enter
dbt-demos. Organization and Location can stay at their default values. - Click Create.
Upload Data
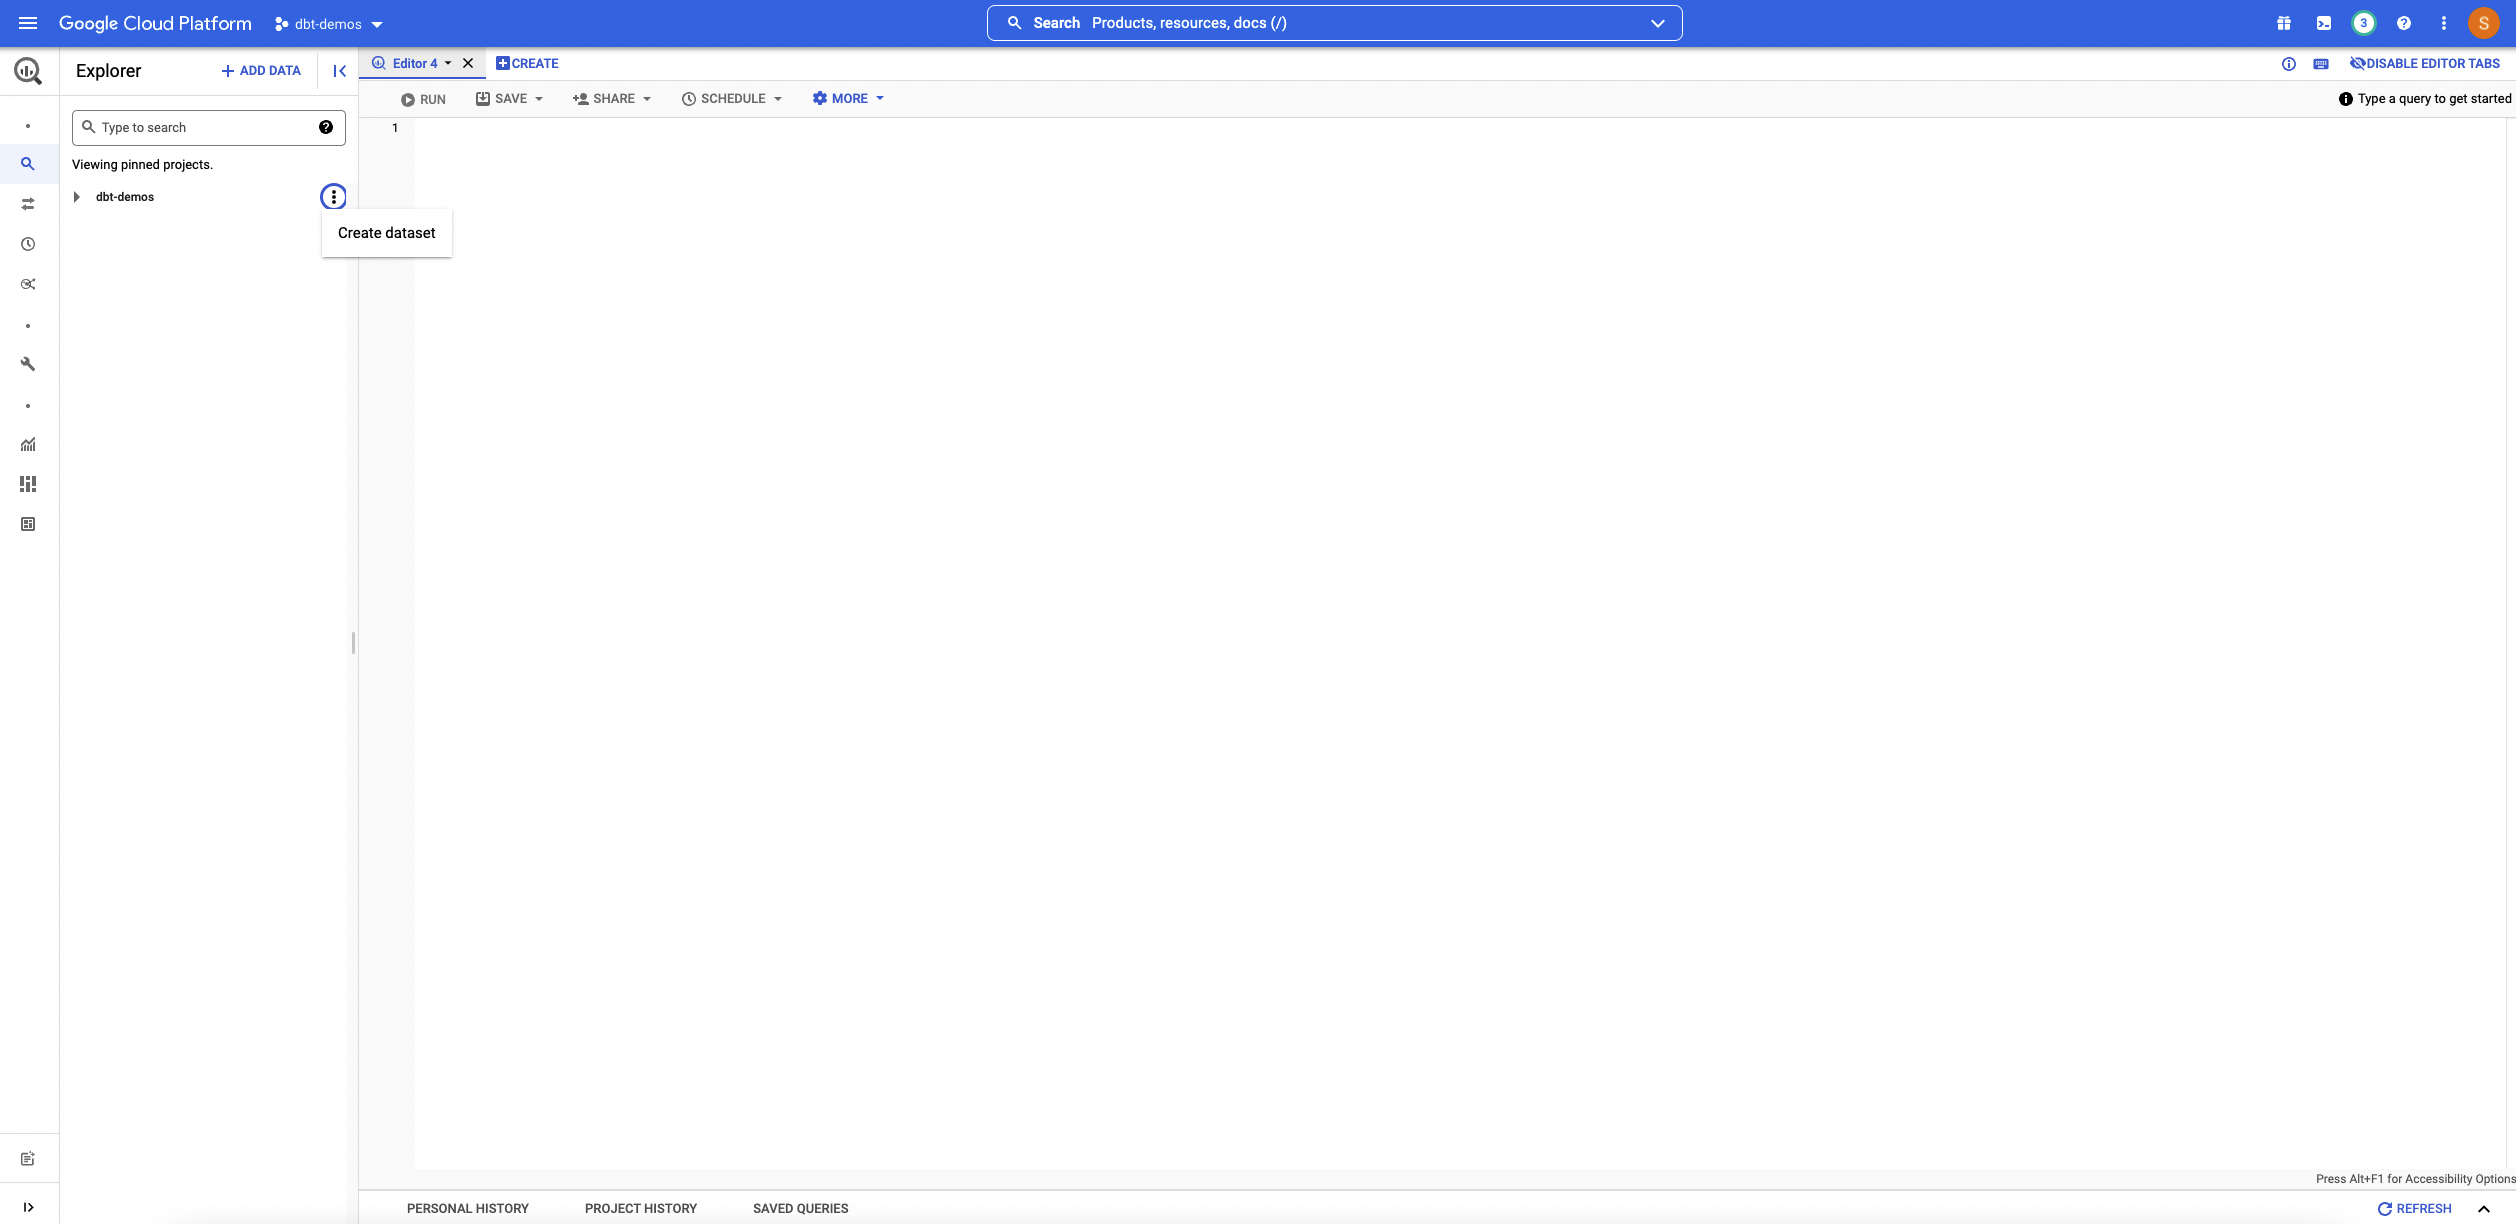
- Locate the
dbt-demosproject that we created on the left side bar. - Click the 3 dots and choose Create dataset
- For Dataset ID, enter
538_football. - Click Create Dataset.
- Expand the dbt-demos project on the left sidebar by clicking the arrow. Locate the 538_football dataset. Click the 3 dots and choose Create Table.
- Under Create Table from, choose Upload and choose
spi_matches_latest.csv. - Under File Format, choose CSV.
- Project and Dataset should automatically be set to
dbt-demosand538_footballrespectively. - Under table, enter
stg_football_matches - Check the box for Auto Detect.
Your settings should look like this:
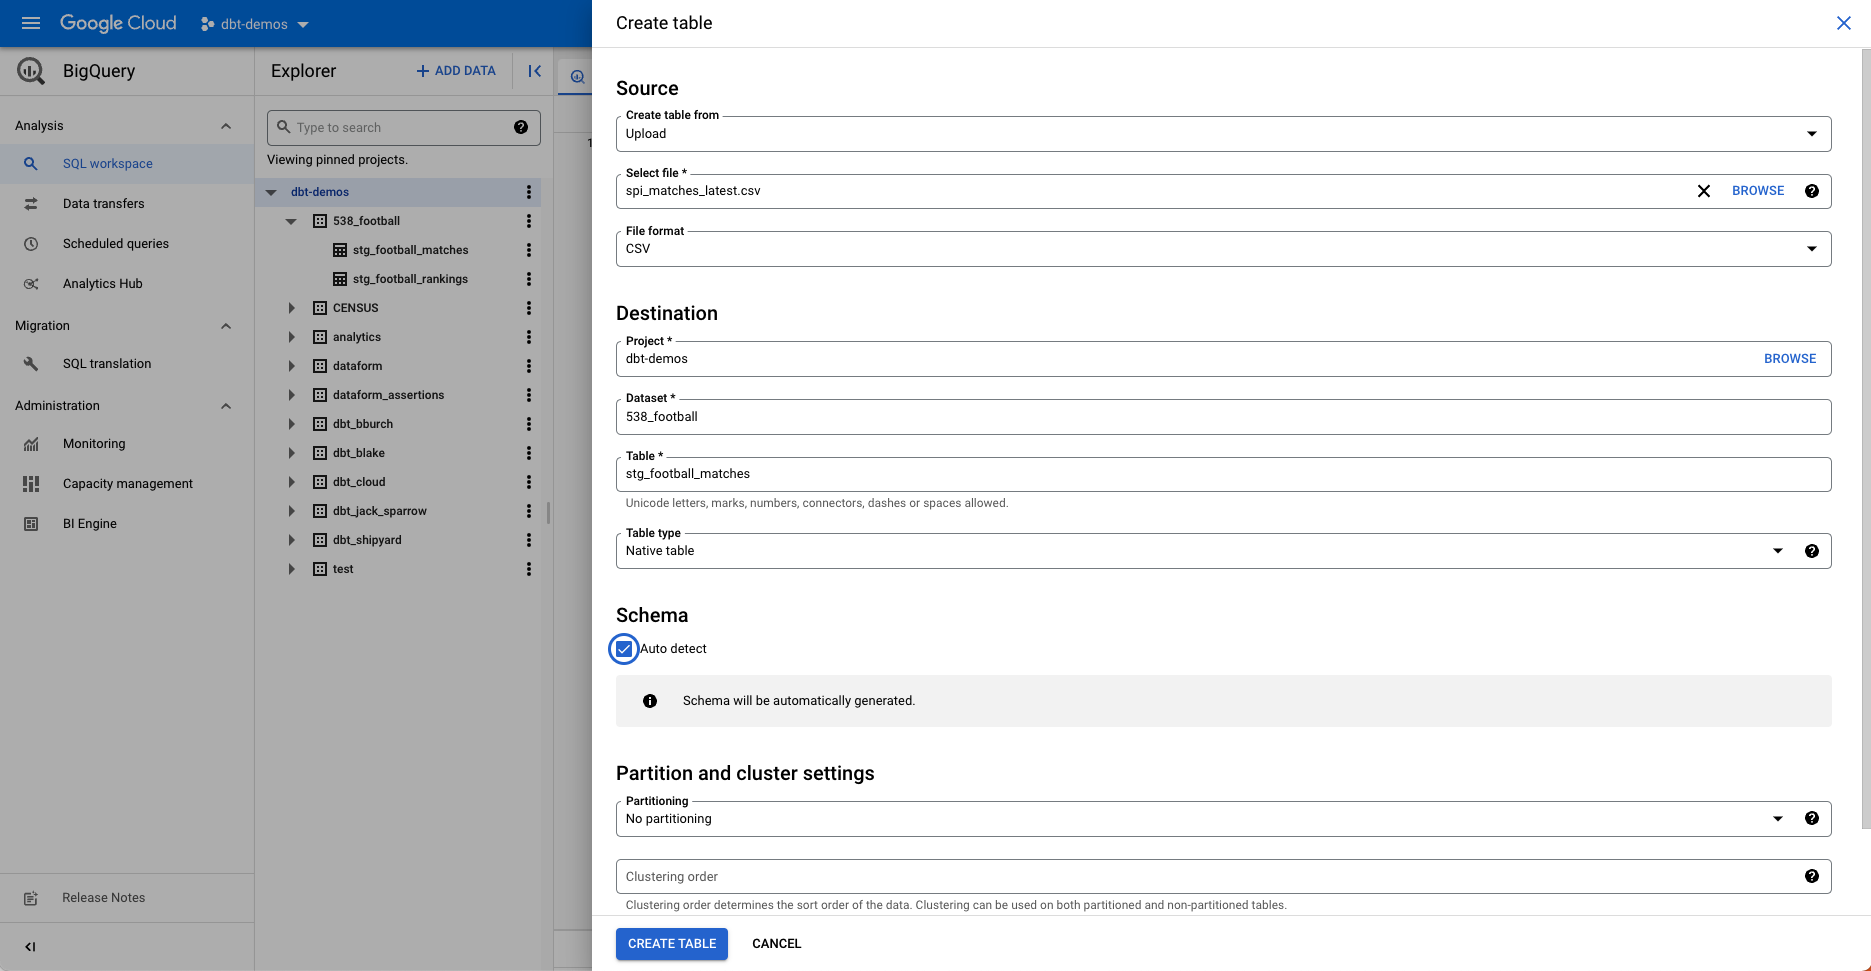
- Click Create Table.
- Repeat steps 5-11 with the second CSV file, however name the table
stg_football_rankings.
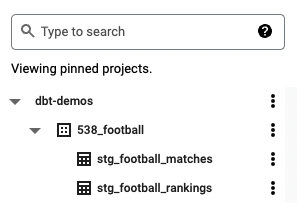
You should be able to see the two tables you created under the 538_football dataset on the left sidebar as seen in this photo:
You should now be able to query dbt-demos.538_football.stg_football_matches and dbt-demos.538_football.stg_football_matches. Feel free to run this query to verify that this process worked successfully:
SELECT * FROM `dbt-demos.538_football.stg_football_matches`
Snowflake
Set-Up Users, Roles, Warehouses, and Database
- From the Snowflake homepage, click Worksheets on the top of the webpage.
- Input the follow query and run it:
USE ROLE accountadmin;
-- dbt roles
CREATE OR REPLACE ROLE dbt_dev_role;
CREATE OR REPLACE USER dbt_user PASSWORD = "sailboats";
GRANT ROLE dbt_dev_role,dbt_prod_role TO USER dbt_user;
GRANT ROLE dbt_dev_role,dbt_prod_role TO ROLE accountadmin;
CREATE OR REPLACE WAREHOUSE dbt_dev_wh  WITH WAREHOUSE_SIZE = 'XSMALL' AUTO_SUSPEND = 60 AUTO_RESUME = TRUE MIN_CLUSTER_COUNT = 1 MAX_CLUSTER_COUNT = 1 INITIALLY_SUSPENDED = TRUE;
GRANT ALL ON WAREHOUSE dbt_dev_wh  TO ROLE dbt_dev_role;
CREATE OR REPLACE DATABASE dbt_hol_dev;
GRANT ALL ON DATABASE dbt_hol_dev  TO ROLE dbt_dev_role;
GRANT ALL ON ALL SCHEMAS IN DATABASE dbt_hol_dev   TO ROLE dbt_dev_role
This query creates an example user, warehouse, and database to use throughout the tutorial.
- Click the Databases button on the top left of your screen. You should see the
DBT_HOL_DEVdatabase that we created:

- Click Worksheets on the top of your page.
Create Tables
- Enter the following query into the worksheet to create our
stg_football_rankingstable:
CREATE TABLE DBT_HOL_DEV.PUBLIC.STG_FOOTBALL_RANKINGS(
  rank integer,
  prev_rank integer,
  name string,
  league string,
  off float,
  def float,
  spi float
)
- Click Run.
- Enter the following query into a worksheet to create our
stg_football_matchestable:
CREATE TABLE DBT_HOL_DEV.PUBLIC.STG_FOOTBALL_MATCHES(
  season integer,
  date date,
  league_id integer,
  league string,
  team1 string,
  team2 string,
  spi1 float,
  spi2 float,
  prob1 float,
  prob2 float,
  probtie float,
  proj_score1 float,
  proj_score2 float,
  importance1 float,
  importance2 float,
  score1 integer,
  score2 integer,
  xg1 float,
  xg2 float,
  nsxg1 float,
  nsxg2 float,
  adj_score1 float,
  adj_score2 float
 )
Load Data into Tables
- Click Databases on the top of your Snowflake page.
- Click
DBT_HOL_DEV - Click
STG_FOOTBALL_RANKINGS. - Click Load Data which will bring up the load data menu.
- Choose DBT_DEV_WH as the warehouse to load data. Click next.
- Click Select Files and select
spi_global_rankings.csv. Click next. - Click the plus sign next to the drop down to create our file format.
- Under name, enter dbt_tutorial_csv.
- Change header lines to skip to 1 from 0.
- Keep the other settings at their default.
- Click Finish.
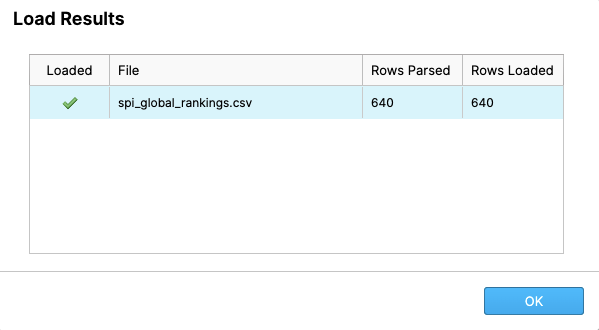
- Click Load.
- After the data has loaded into Snowflake, you will receive a success message that looks like this:
- Click Databases on the top of your Snowflake page.
- Click
DBT_HOL_DEV. - Click
STG_FOOTBALL_MATCHES. - Click Load Data which will bring up the load data menu.
- Choose DBT_DEV_WH as the warehouse to load data. Click next.
- Click Select Files and select
spi_matches_latest.csv. Click next. - Use the dropdown menu to select the dbt_tutorial_csv as the file format.
- Click Finish.
- Click Load.
You should be able to see both tables listed under your DBT_HOL_DEV database now.
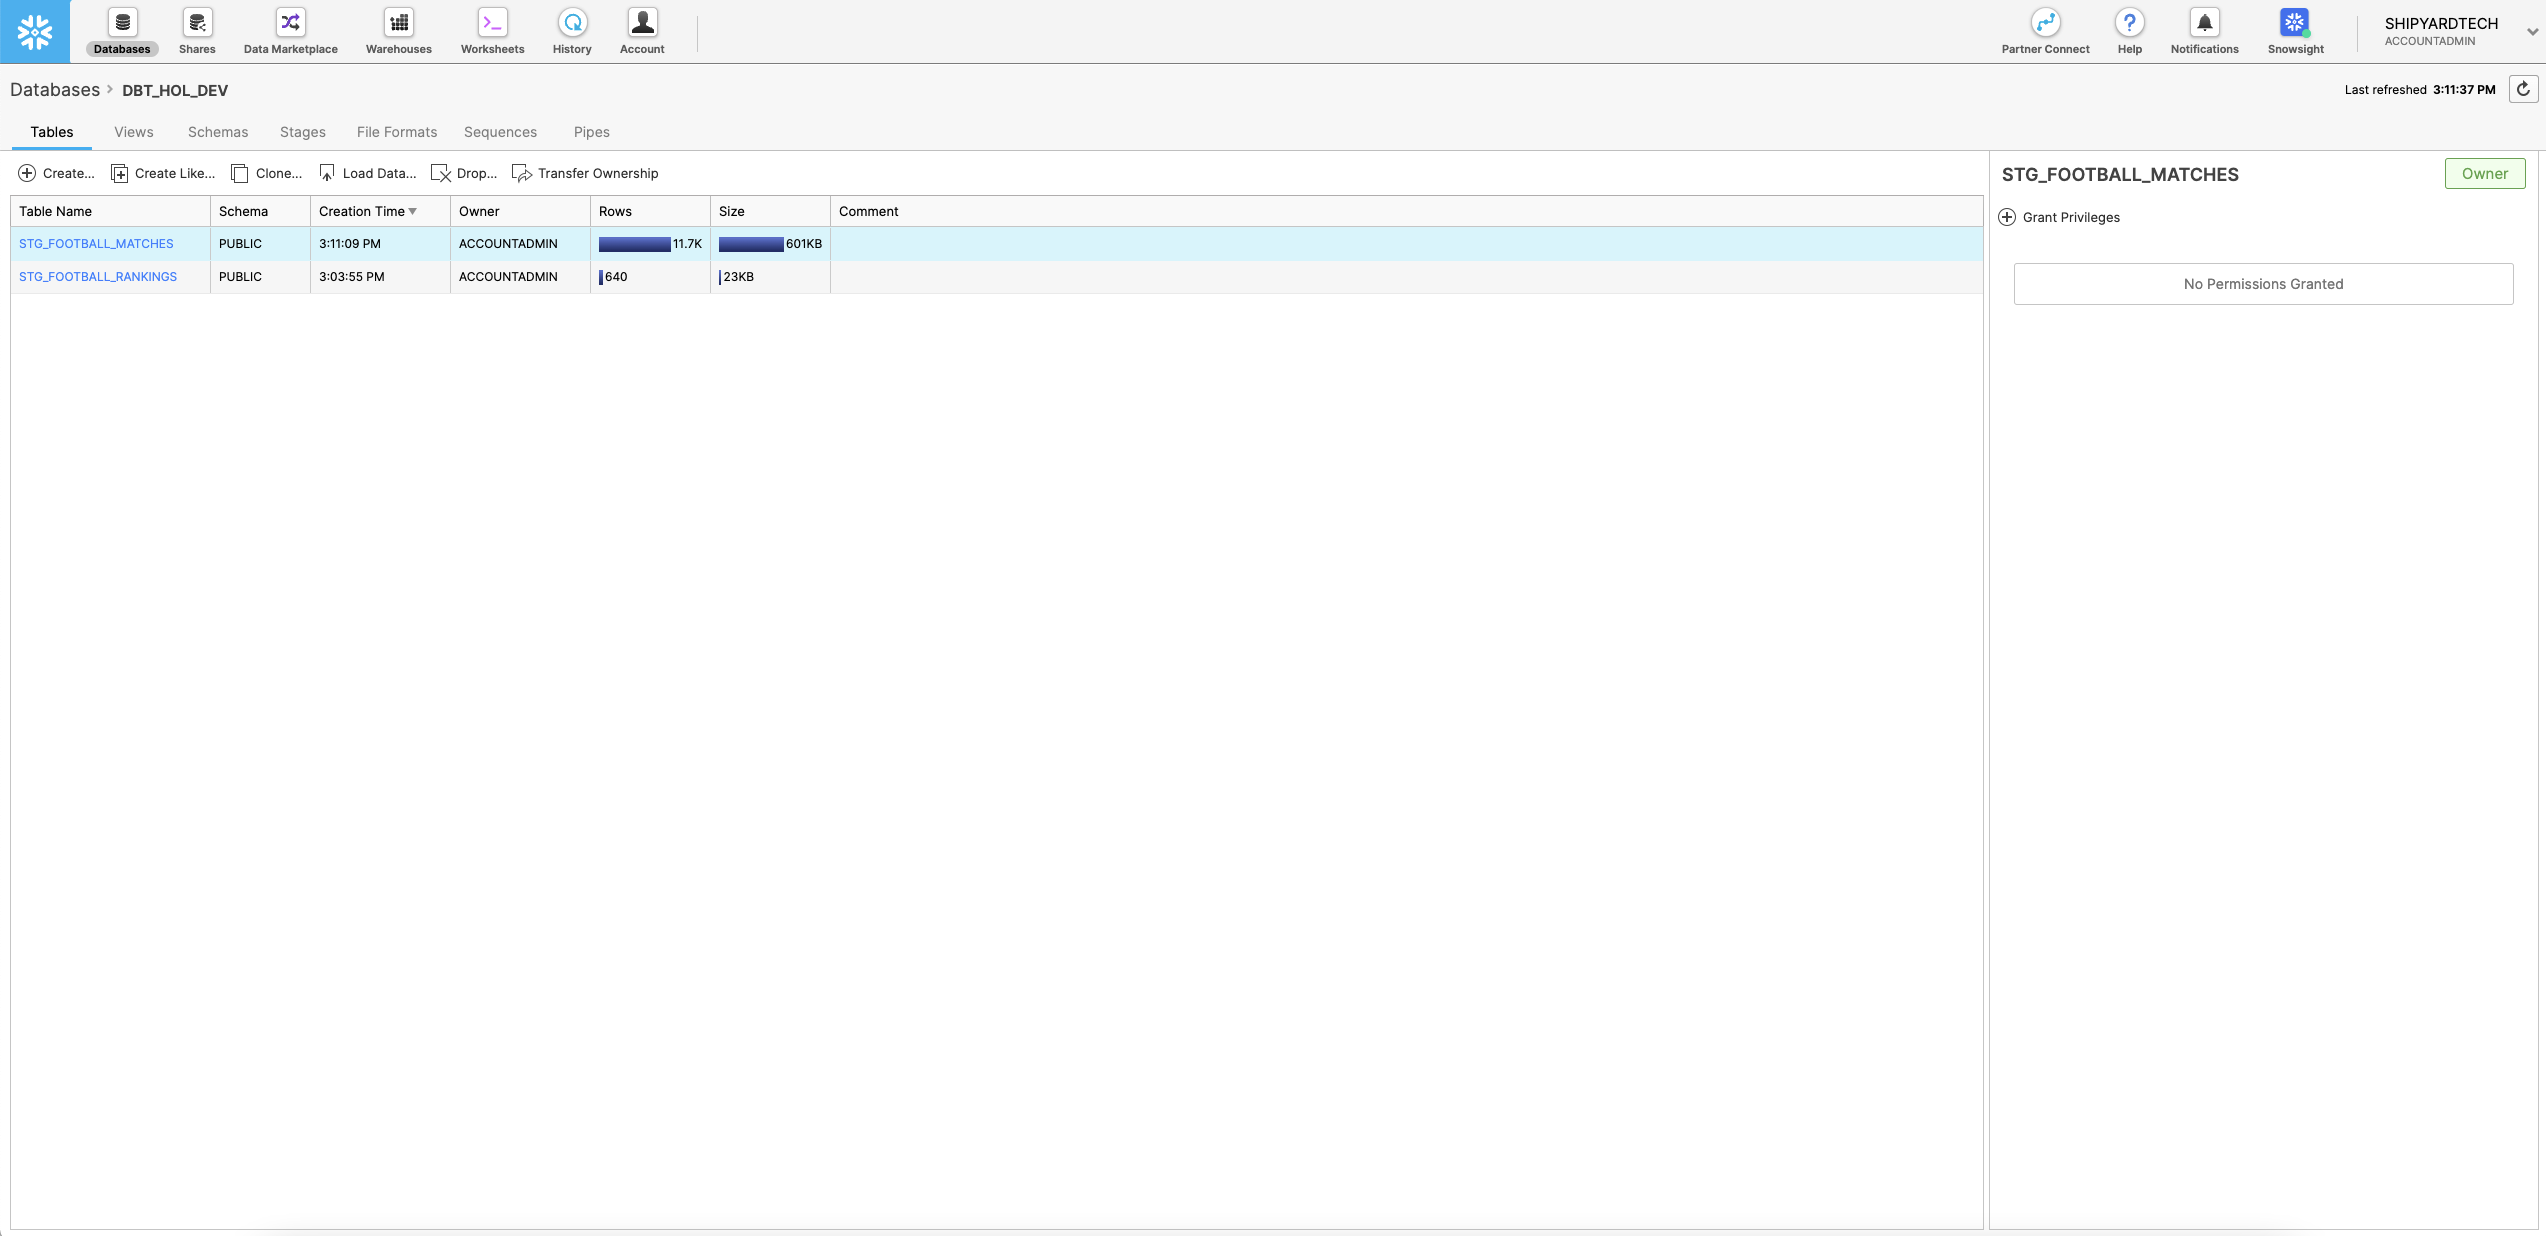
- Click on
STG_FOOTBALL_RANKINGSand click Grant Privileges on the right of the screen. Grant all actions to theDBT_DEV_ROLE. - Repeat this for
STG_FOOTBALL_MATCHES.
You should now be able to query "DBT_HOL_DEV"."PUBLIC"."STG_FOOTBALL_RANKINGS" and "DBT_HOL_DEV"."PUBLIC"."STG_FOOTBALL_MATCHES". Feel free to run this query to verify that this process worked successfully:
select * from "DBT_HOL_DEV"."PUBLIC"."STG_FOOTBALL_MATCHES"
Databricks
Create Tables and Load Data
- From the Databricks homepage, navigate to the left sidebar and select data. This will open up the sidebar to look at the data currently stored in Databricks.
- Click Create Table. This will take you to the Create New Table page.
- Under Files, click the box to browse your files and select
spi_matches_latest.csv.
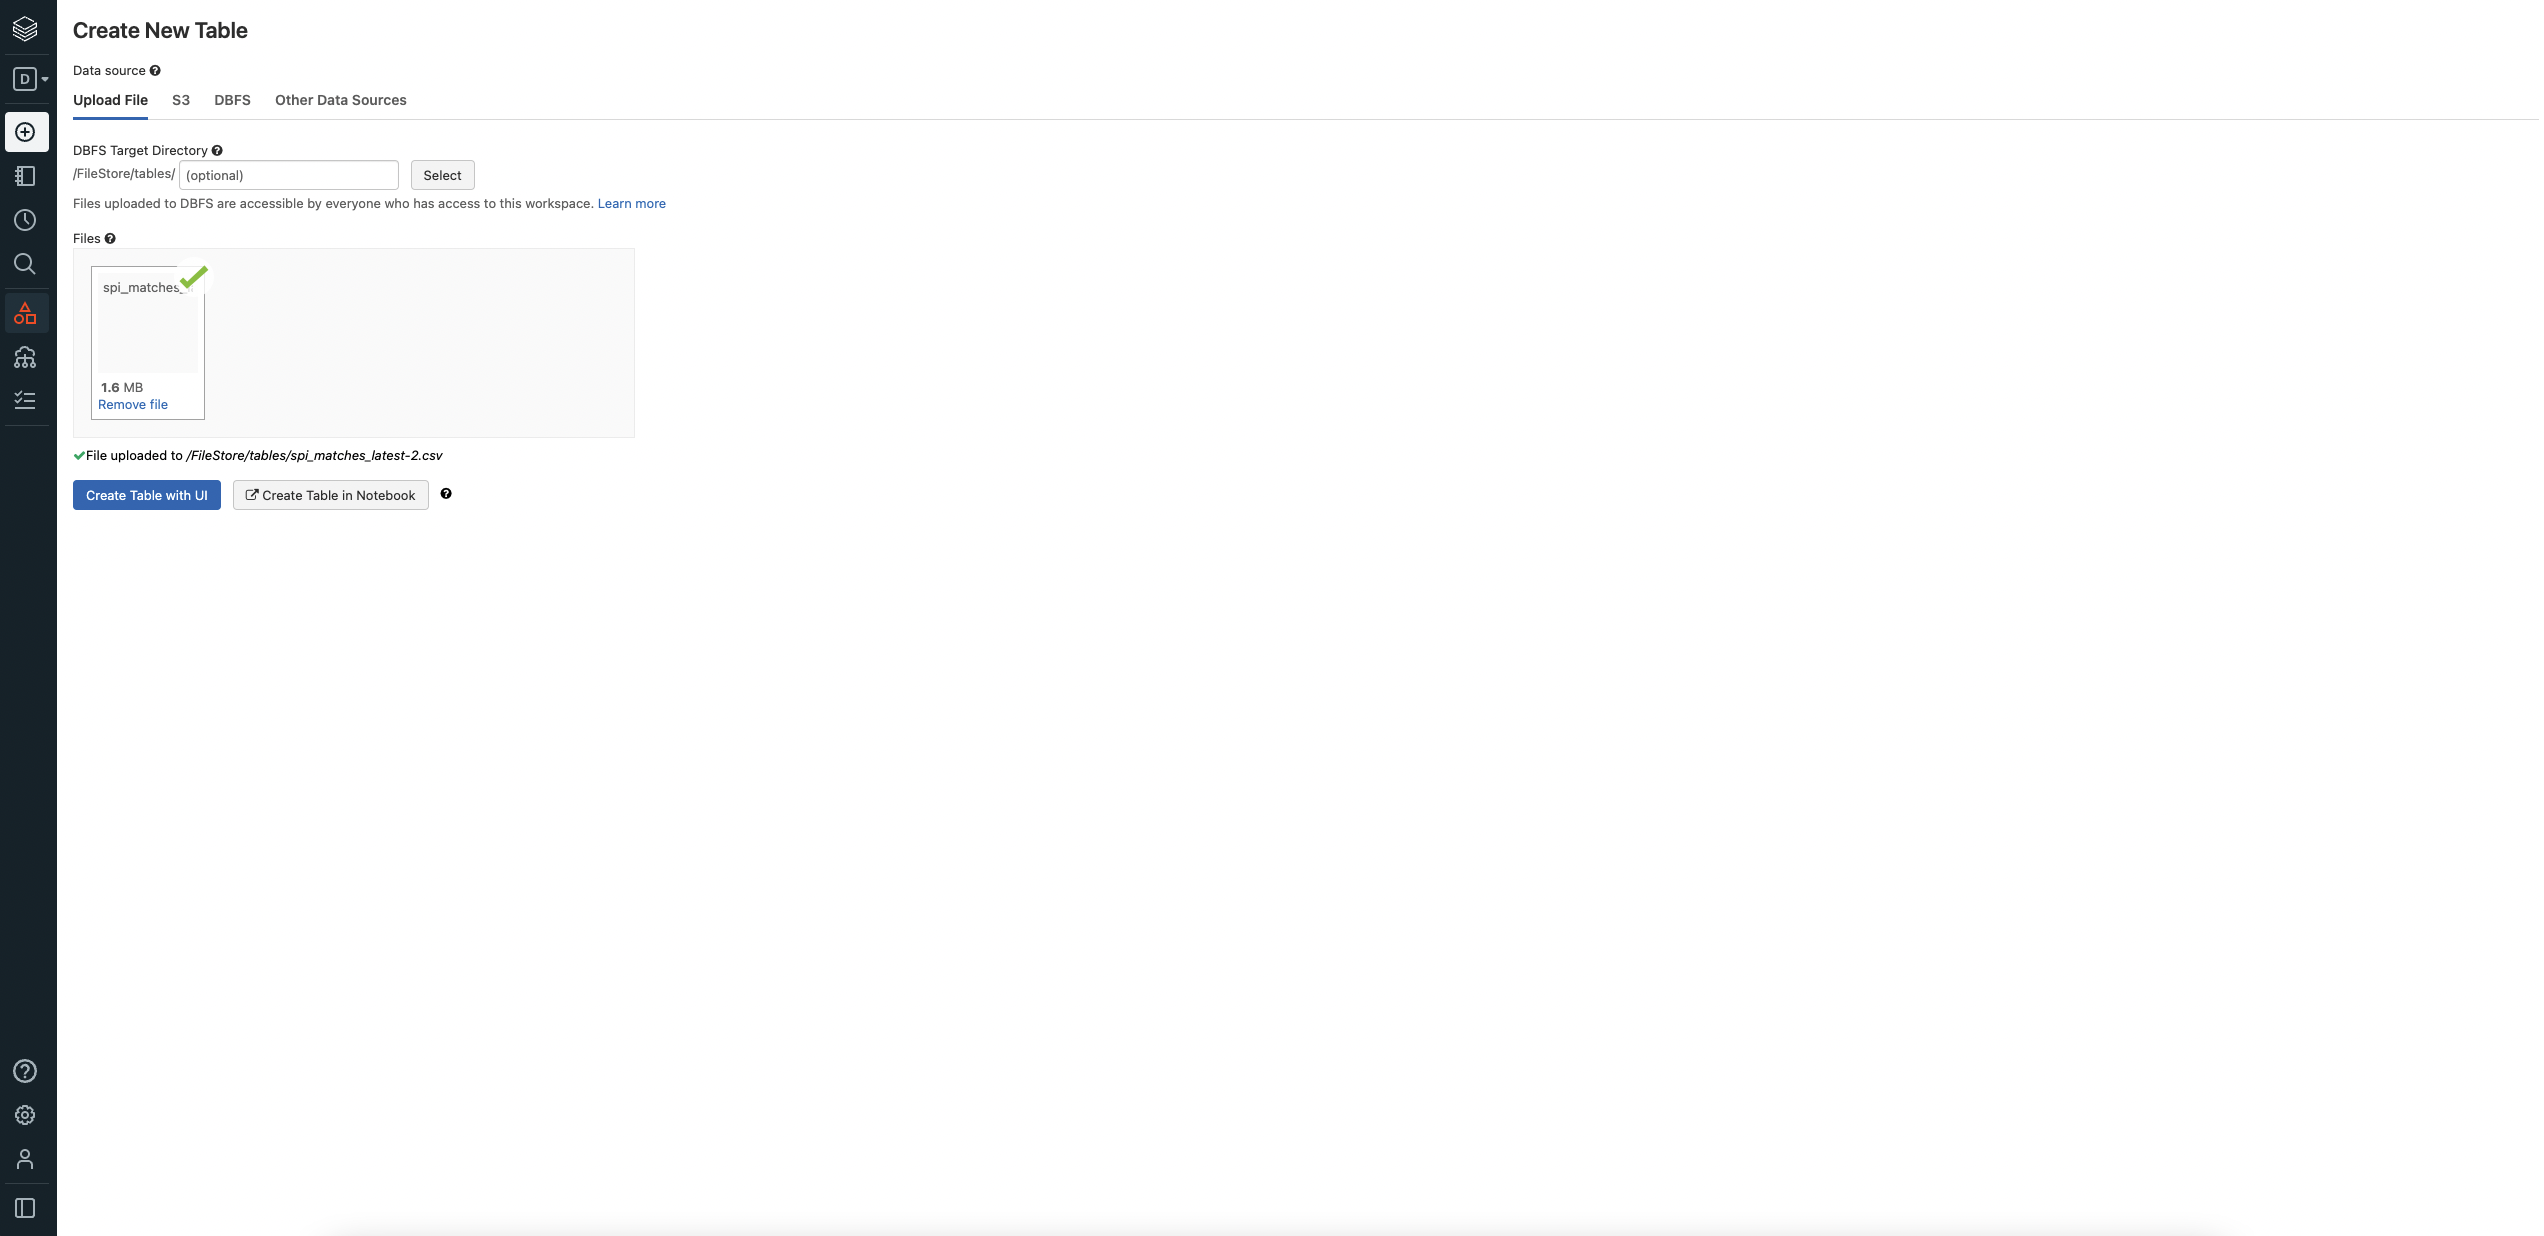
- Click Create Table with UI
- Select Cluster to preview table. Click Preview Table. This will give you the ability to specify options for the table.
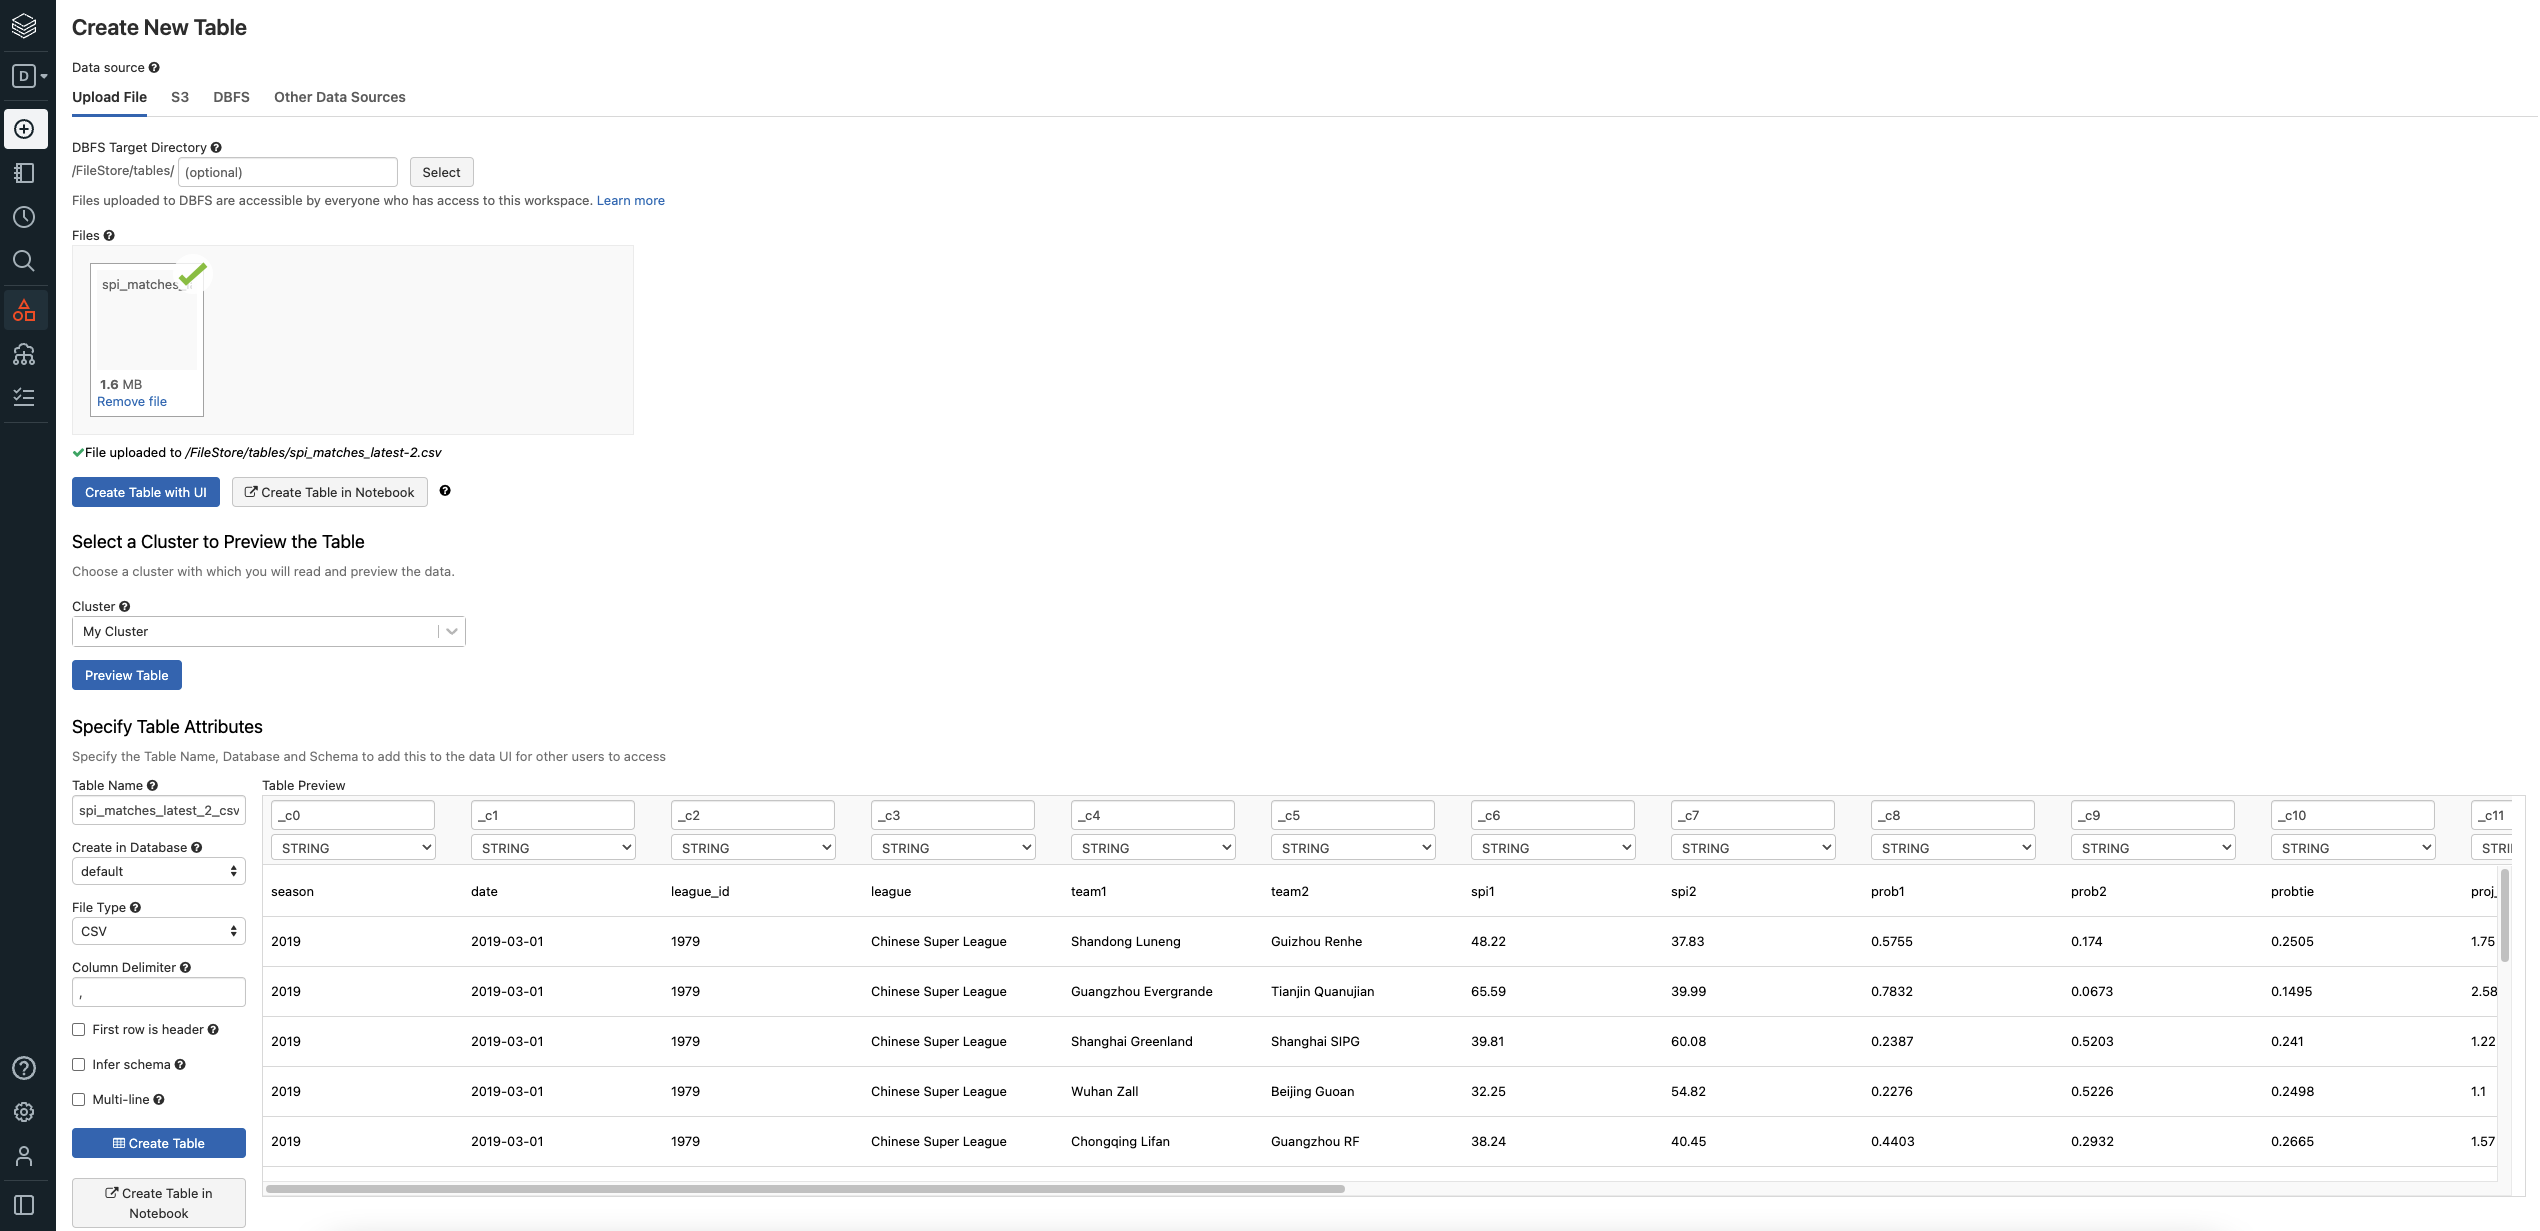
- Under Table Name, enter
stg_football_matches. - Under Create in Database, feel free to change to any database you like. We will use the default for simplicity's sake.
- Under File Type, make sure CSV is selected.
- Under Column Delimiter, make sure
,is in the box. - Check the box for First row is header.
- Check the box for Infer schema.
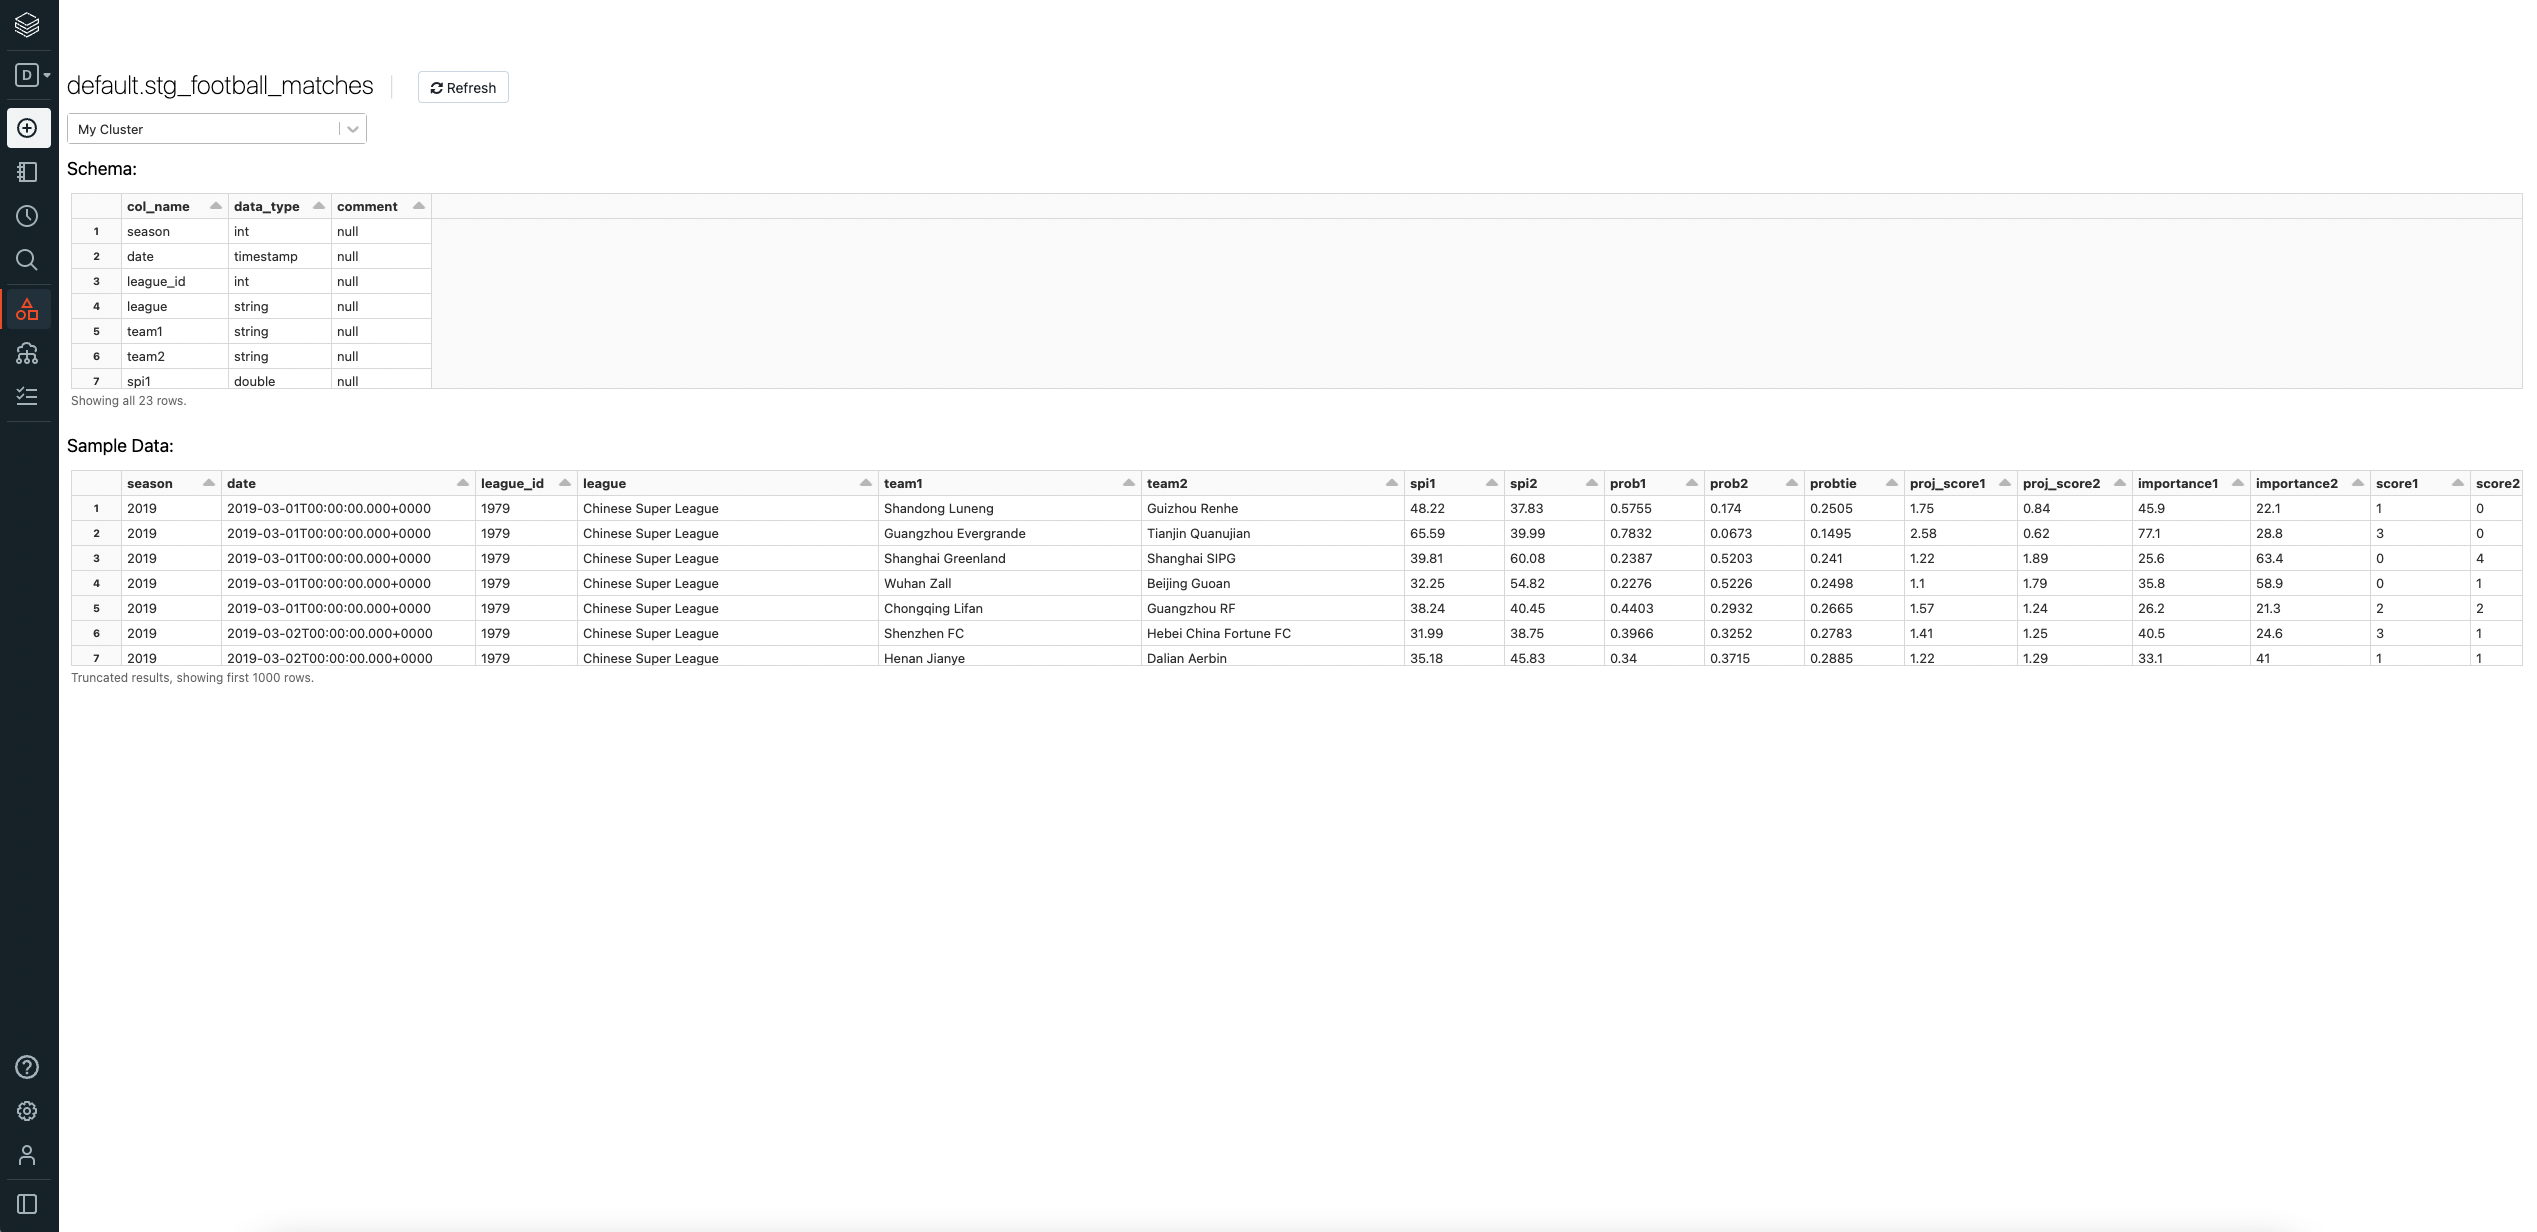
- Click Create Table. This will redirect to the table that you just created:
- Click Data on the left sidebar to open the data sidebar. Click Create Table.
- Repeat steps 3-12 with the following changes:
- Under Files, click the box to browse your files and select
spi_global_rankings.csv. - Under Table Name, enter
stg_football_rankings.
- Under Files, click the box to browse your files and select
- After repeating those steps with the indicated changes, your resulting page should look like this:
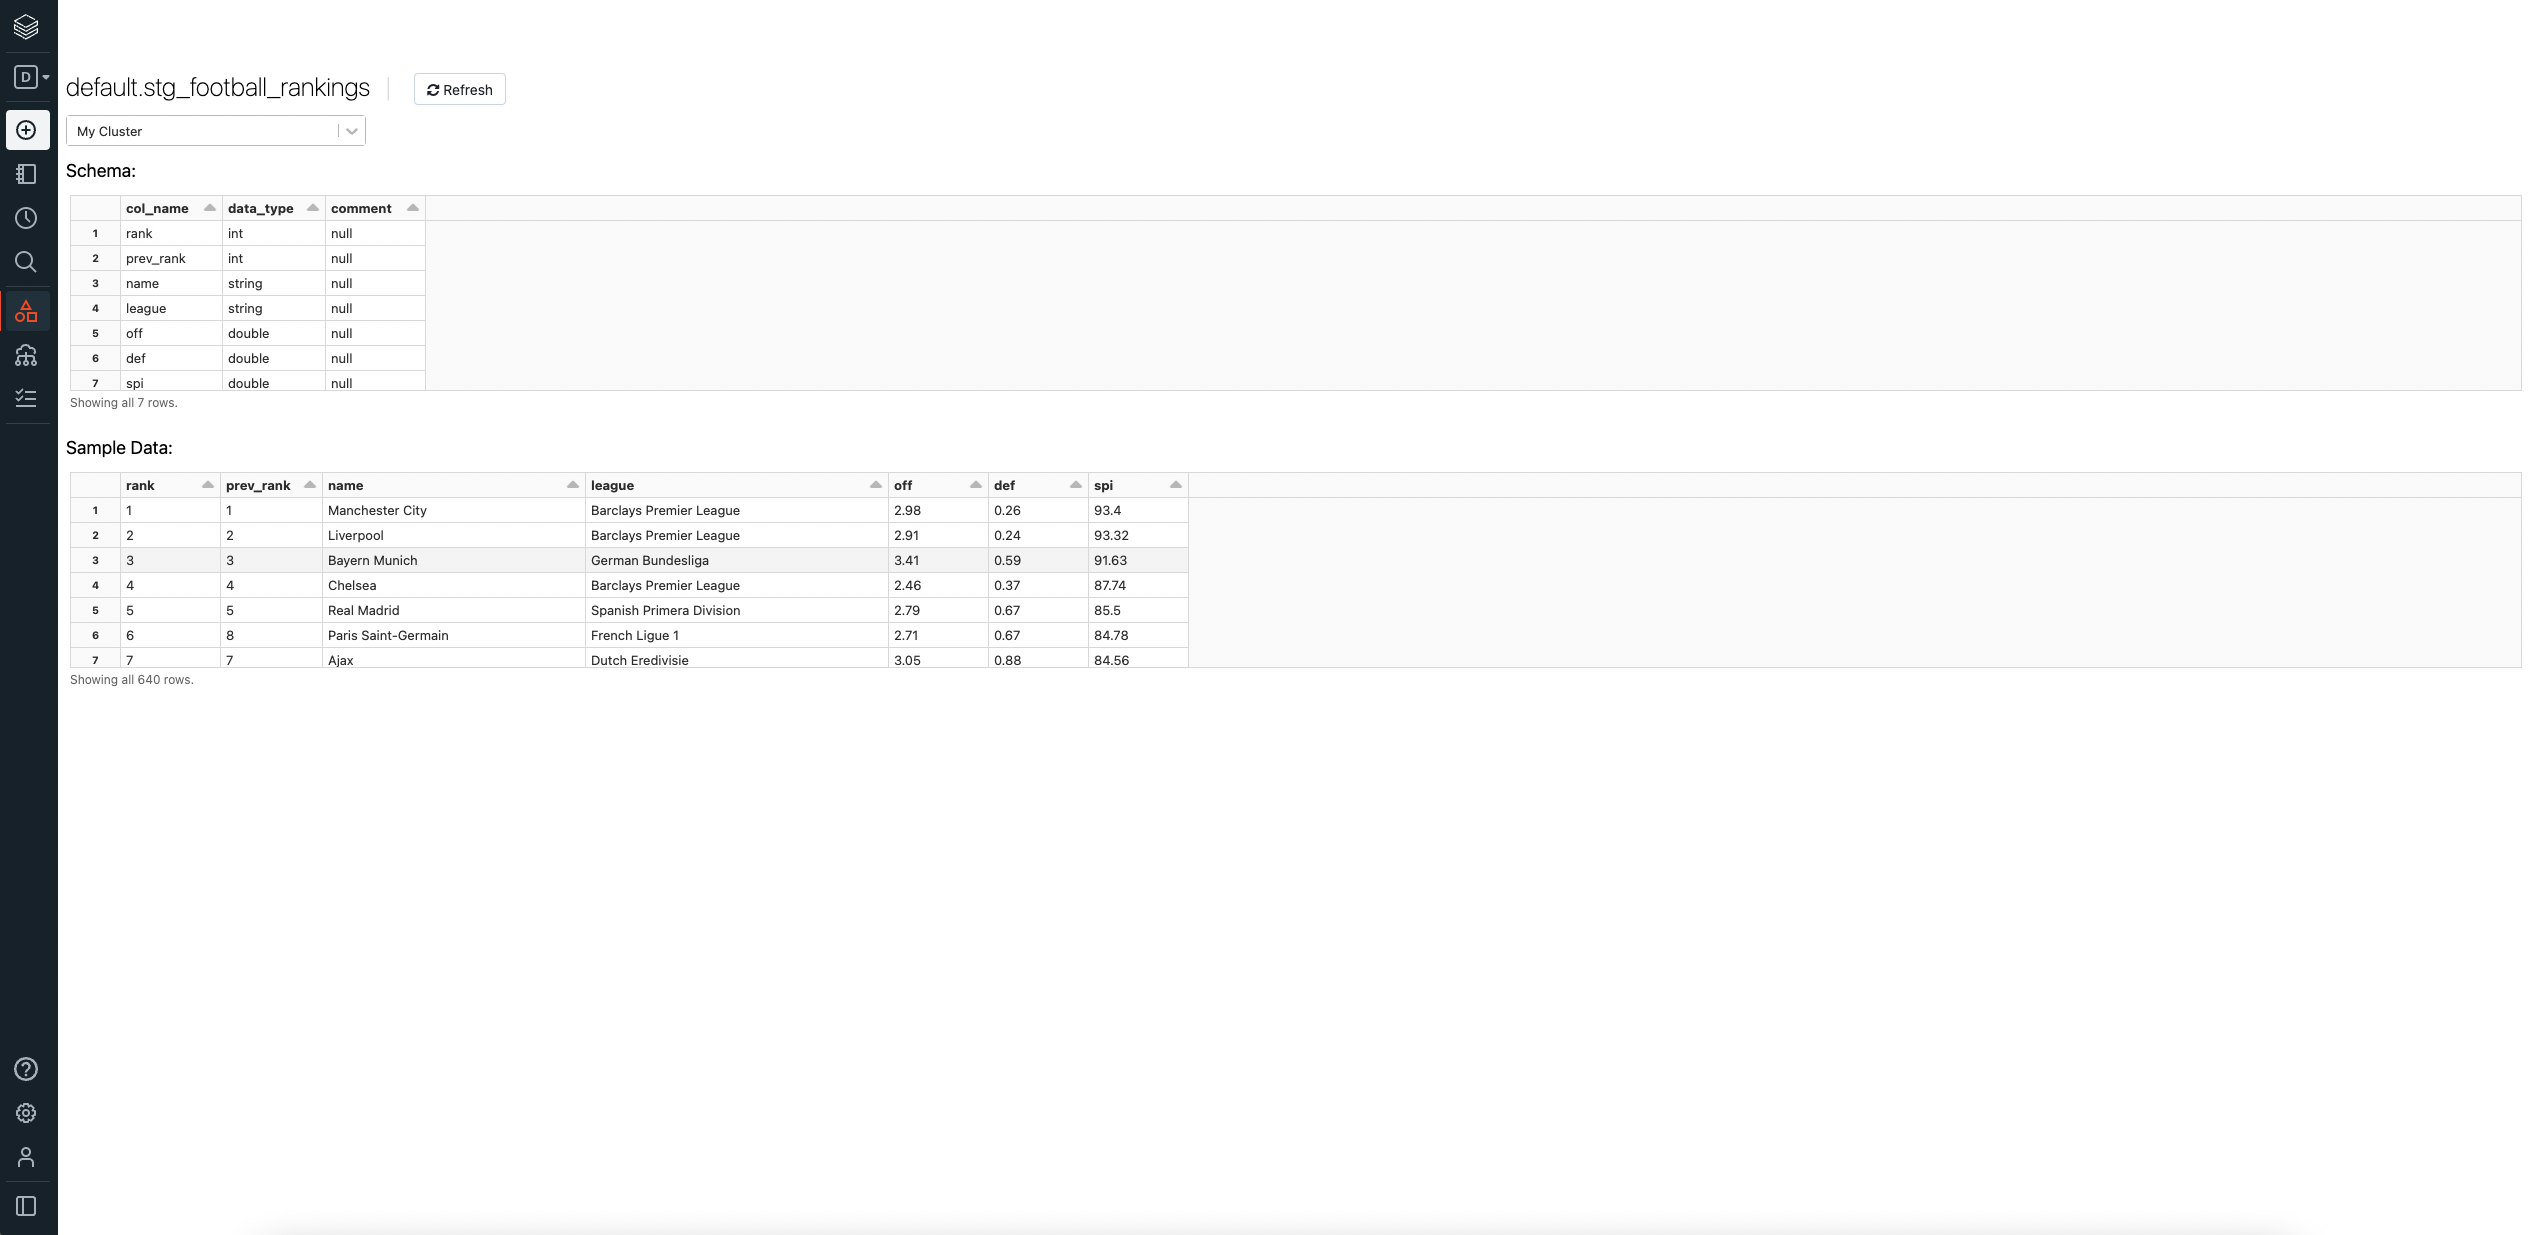
You should now be able to query default.stg_football_rankings and default.stg_football_matches. Feel free to run this query to verify that this process worked successfully:
select * from default.stg_football_matches
Redshift
This tutorial assumes that you have done the following:
- setup the appropriate permissions (see authorization guide)
- created a Redshift cluster
- created an S3 bucket to store the sample files
Load data into S3
- From your AWS console, navigate to your S3 buckets.
- Navigate into the bucket you created for this tutorial by clicking on its name.
- Create a folder inside of your bucket named
fivethirtyeight_footballby clicking the Create Folder button. - Once the folder is created, navigate inside of it.
- Click the Upload button to begin the process of uploading our sample files.
- Click Add Files.
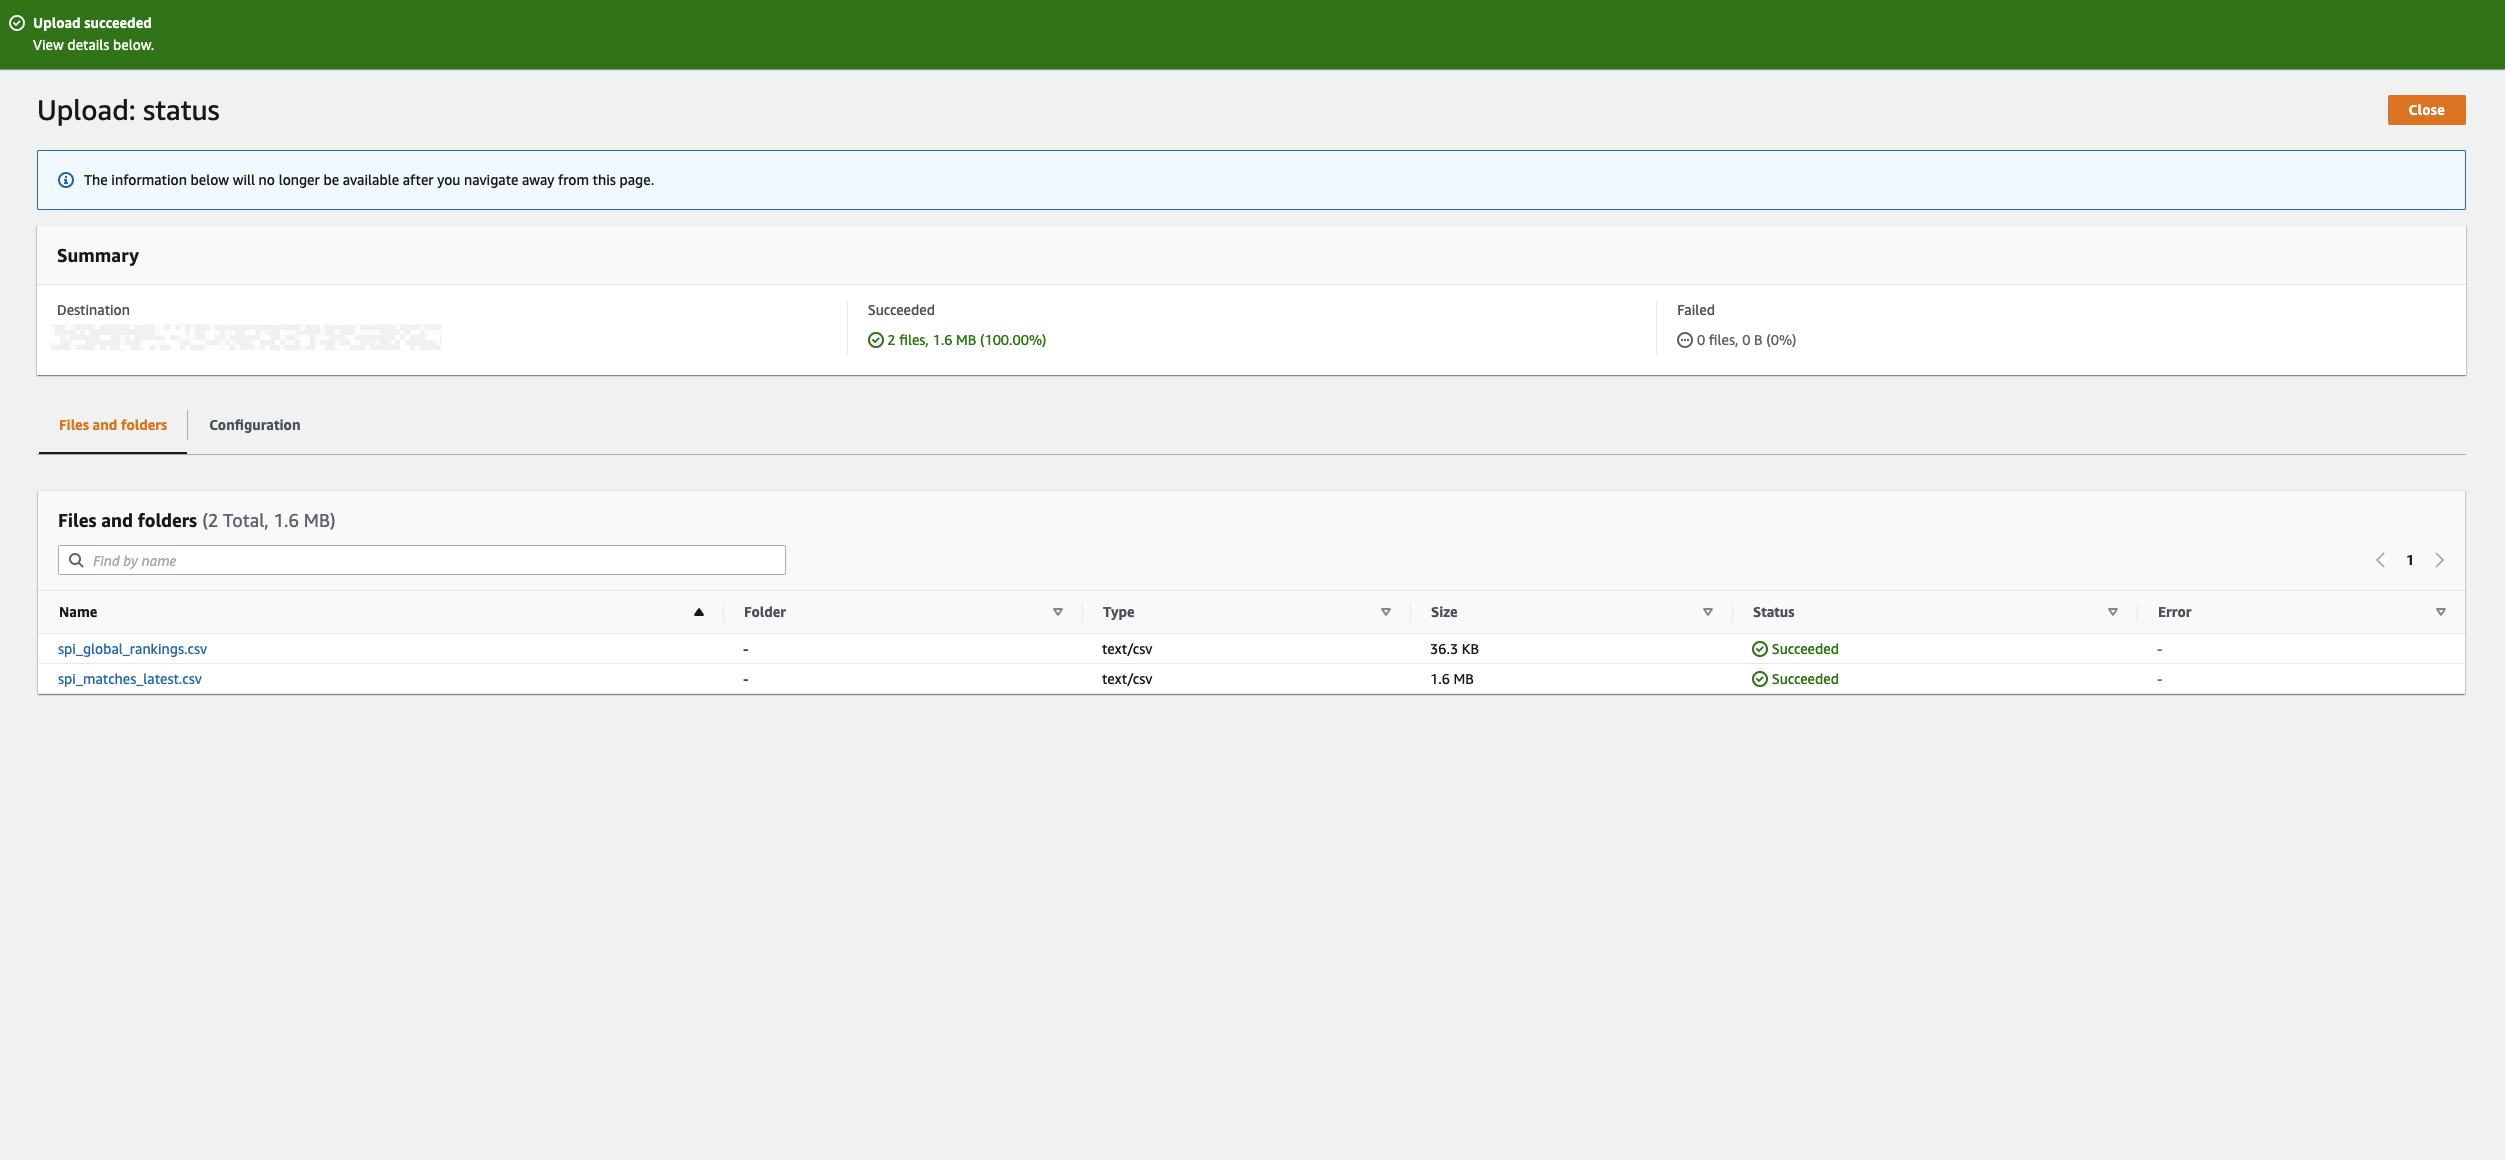
- Select the two files from your file system and click open. After you do that, your page should look like this:
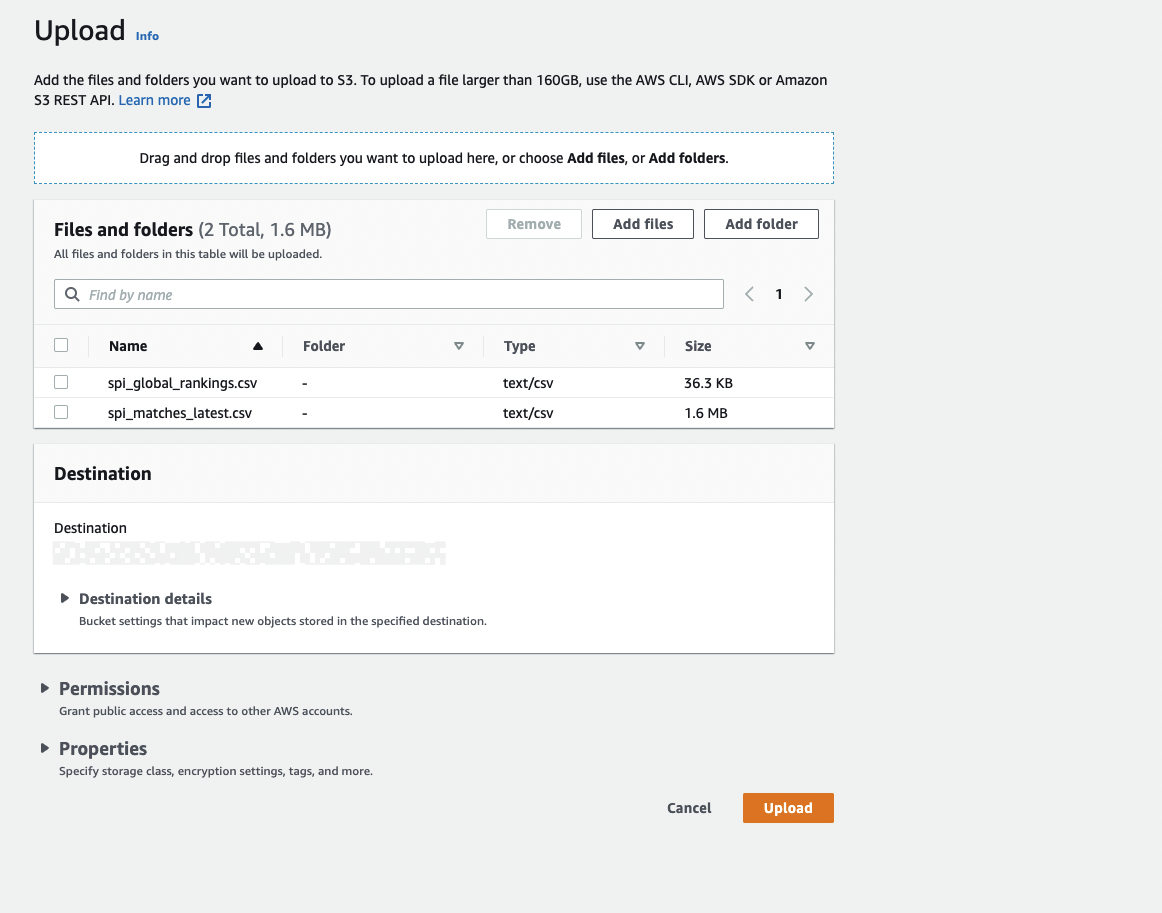
- Click Upload. After the upload is complete, you should be shown an upload succeeded banner that looks like this:
Create Tables in Redshift
- Navigate into Redshift and use the navigation menu to go to the query editor.
- Create new schema for our sample data named
soccerby running this query:
create schema if not exists soccer
- Run the following query to create tables inside of our new soccer schema to hold our uploaded data in S3.
create table soccer.stg_football_rankings(
  rank integer,
  prev_rank integer,
  name varchar(255),
  league varchar(255),
  offense float,
  def float,
  spi float
);

create table soccer.stg_football_matches(
  season integer,
  date date,
  league_id integer,
  league varchar(255),
  team1 varchar(255),
  team2 varchar(255),
  spi1 float,
  spi2 float,
  prob1 float,
  prob2 float,
  probtie float,
  proj_score1 float,
  proj_score2 float,
  importance1 float,
  importance2 float,
  score1 integer,
  score2 integer,
  xg1 float,
  xg2 float,
  nsxg1 float,
  nsxg2 float,
  adj_score1 float,
  adj_score2 float
);
Now that we have our tables setup in Redshift. We need to load the data from S3 into the tables.
Load data from S3 into Redshift Tables
- Navigate to S3 and find the files that we uploaded in the prior steps.
- Click the name of each file to locate the S3 URI.
- Copy and paste the S3 URIs for use later in these steps.

- Navigate back to the Redshift console.
- Run the following two queries replacing S3 URI, IAM_role, and region with the values that are specific to you:
copy soccer.stg_football_matches( season, date, league_id, league, team1, team2, spi1, spi2, prob1, prob2, probtie, proj_score1, proj_score2, importance1, importance2, score1, score2, xg1, xg2, nsxg1, nsxg2, adj_score1, adj_score2)
from 'S3 URI'
iam_role 'arn:aws:iam::XXXXXXXXXX:role/RoleName'
region 'us-east-1'
delimiter ','
ignoreheader 1
acceptinvchars;
copy soccer.stg_football_rankings( rank, prev_rank, name, league, offense, def, spi)
from 'S3 URI'
iam_role 'arn:aws:iam::XXXXXXXXXX:role/RoleName'
region 'us-east-1'
delimiter ','
ignoreheader 1
acceptinvchars;
You should now be able to query soccer.stg_football_rankings and soccer.stg_football_matches. Feel free to run this query to verify that this process worked successfully:
select * from soccer.stg_football_matches