

Your team is following best practices and managing all of your code with git version control. You run all of your code through review before it gets merged. You check out separate branches to fix individual issues. You make release tags to indicate completed updates for code.
But what happens when you actually want to use this code in production? Some systems you use may rely on your team to copy/paste code. Others can clone your repo, but only on a set schedule. We've even seen teams have to hardcode git logic into the scripts they run to get things operating correctly. Whatever the solution, it's always ends up rather messy with room for human error – especially when dealing with backend scripts for building data pipelines, data alerts, or making machine learning models.
We built Shipyard to be the fastest way to start automating any of your code that lives on Github. With this tutorial, you can automate your code that lives on Github on cloud infrastructure in a matter of minutes.
Steps for Success
Fork our Github Demo Repository
For this demo, we created a public repository to demonstrate how the easy it is to get a Github connection set up. Go to this link and fork the repository to your own personal organization.

The sample code does 3 things:
- Prints "Hello, {NAME}" given an environment variable named
NAME. - Prints the version of Pandas being used, based on the provided
requirements.txtfile - Creates a random dataframe with 1000 rows and numbers between 1-1000. This can be customized with environment variables named
MAXandROWS.
Sign up for Shipyard
To get started, sign up with your work email and your company name.

Once you've created an account and logged in you can use this guide to start automating your Github code.
Add the Github Integration to Shipyard
Log into your Shipyard account. On the sidebar, select Admin and then click Integrations.

On the Integrations tab, click the Github card.

On the Github page, click the Add Connection button.

On the next screen, you'll need to sign into Github to continue adding a connection.

Once you've signed in, you'll be presented with a a list of all the organizations that your Github user has access to. Select the account where you forked the demo repository.
Note: With the Github Code Sync app, you can only connect one organization at time. You can still create more connections in the future.

For each organization you connect, you have the option to give read-only access to all repos, or select only a few repos. This can always be updated later on if you change your mind!
For this tutorial, select to give access to only select repositories, then find the repository that you created when forking our demo repository (named github-integration-demo). Once this repository is selected, click the Install button.

You should be redirected back to Shipyard's integration page, with a green tag indicating a single connection and the connected organization being listed on the side.

Create a Code Vessel
Now that you've successfully installed Github Code Sync, it's time to start automating your code!
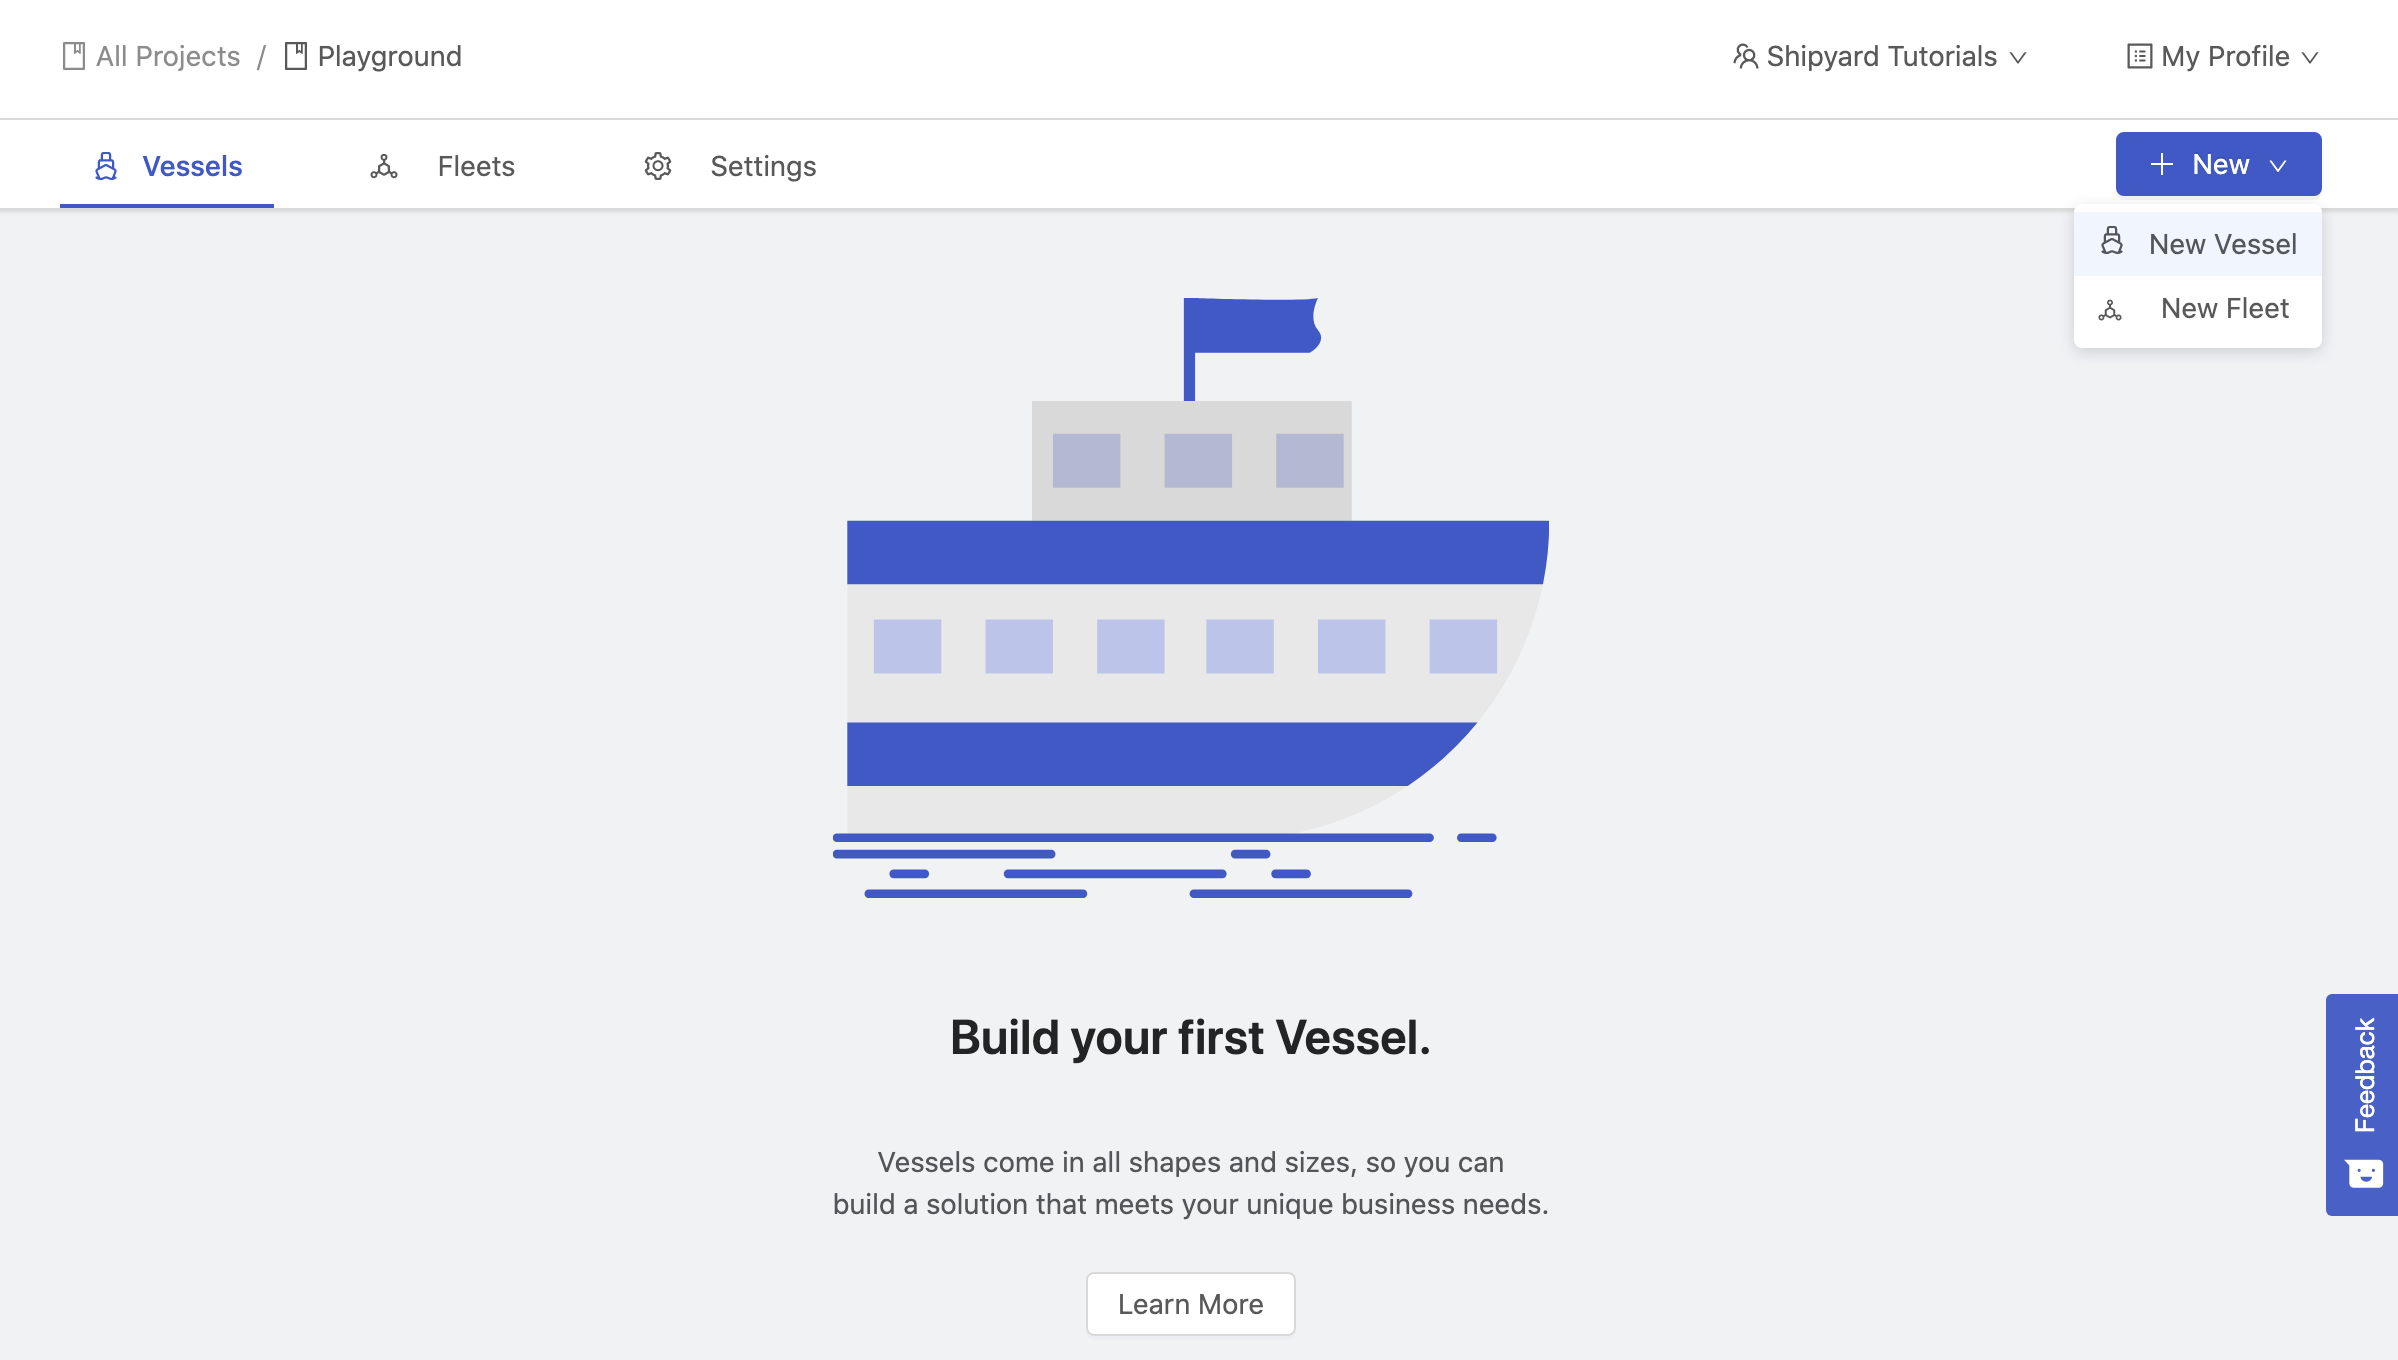
Click Projects on the side bar and navigate to the Playground project that your organization starts with.

Once in the Playground project, hover over the +New button and click New Vessel on the dropdown.
When prompted how you want to build your Vessel, click With Code.

Next, select the language you want to use. For this guide, we're going to select Python.

You should now be on the Code step where you'll want to click the option for Git.

Once switched to the Git tab you'll be need to fill out all of the required fields.
- First, select the repository that contains the demo code. It should be named
github-integration-demo. - Next, select the branch or tag (code source) that you want to stay in sync with. For this guide, you'll select
mainormaster- whichever you use as the default. - Finally, you can select the clone location of your code. We'll leave this with the default setting.
Once you've made your selections, provide the name of your script in the File to Run field on the right side. For this demo, you'll want to type github-integration-demo/demo.py.
Note: The File to Run includes the folder name because the script we wanted to run was cloned into a folder with the repo's name – github-integration-demo. If you had selected Unpack into Current Working Directory, you could instead just type demo.py.
The completed setup should look like this:

Once you've verified that everything is set up correctly, click Next Step at the bottom.
On the next screen, you'll want to add 3 new environment variables named NAME, MAX and ROWS. These environment variables will be passed to the script at runtime and the ability to securely pass data to your code.
NAME- Provide your name.MAX- Provide an integer between 1-1,000,000ROWS- Provide an integer between 1-1,000,000

Once you've added these 3 environment variables, click Next Step at the bottom.
On the next screen you can add scheduled triggers if you'd like. However, we don't need any for this demo. You can go ahead and click Next Step at the bottom.
On the final screen, you'll need to give your Vessel a Name. We chose "Github Demo".

You'll notice that by default:
- Your email is selected to receive notifcations for this Vessel when there is an error or when the Vessel is run on-demand.
- Your Vessel will not retry if it runs into errors.
These paramaters can be changed, but don't need to be updated this demo. Click Save & Finish at the bottom.
You've sucessfully made a Vessel! Now click Run your Vessel to try it out.

You'll be immediately redirected to a screen that will show you live results of your Vessel running. If successful, you should see something similar to the following screen:

Congrats on automating your code from Github! Here's a few things you can try to experiment and get a better understanding of how things work.
- Change the environment variables to be different values.
- Try removing all of the environment variables.
- Try removing or changing the requirements.txt file.
- Update the code in Github, then immediately run the Vessel.
- Create a new branch or tag with code changes and select that code source on the Code tab.
Next Steps
Now that you've gone through this tutorial and successfully automated code deployment from Github, try taking other scripts that you've built and automating them on Shipyard! These could be scripts that:
- Scrape content from the web
- Send alerts to your team
- Generate reports for clients
- Extract data from external APIs
- Transform dirty data
- Analyze behavioral data using ML
Additionally, try building Fleets that connect your Vessels together. Fleets are a powerful way to share data between Vessels and create complex workflows for any use case. As long as your scripts are written in Python or Bash, they'll be able to run on Shipyard.
If you have any questions, reach out to us at support@shipyardapp.com
About Shipyard:
Shipyard is a modern data orchestration platform for data engineers to easily connect tools, automate workflows, and build a solid data infrastructure from day one.
Shipyard offers low-code templates that are configured using a visual interface, replacing the need to write code to build data workflows while enabling data engineers to get their work into production faster. If a solution can’t be built with existing templates, engineers can always automate scripts in the language of their choice to bring any internal or external process into their workflows.
The Shipyard team has built data products for some of the largest brands in business and deeply understands the problems that come with scale. Observability and alerting are built into the Shipyard platform, ensuring that breakages are identified before being discovered downstream by business teams.
With a high level of concurrency and end-to-end encryption, Shipyard enables data teams to accomplish more without relying on other teams or worrying about infrastructure challenges, while also ensuring that business teams trust the data made available to them.
For more information, visit www.shipyardapp.com or get started for free.


