

When dbt released the ability to send outbound webhooks from dbt Cloud, this gave you the ability to notify other applications and tools when certain events happen inside of it.
Currently, you have the ability to send a webhook when a job starts, completes or has an error. You can configure those options to operate on all jobs or specific jobs you choose.
This new feature opens up the opportunity for you to do things like:
- Create a ticket in a task management system such as Asana when a dbt Cloud job fails.
- Create a channel in Slack that notifies users when a dbt Cloud job starts and finishes.
- Run a Shipyard Fleet that exports data from Snowflake as a CSV and emails it to a stakeholder the moment a dbt Cloud job is finished.
Since you are on the Shipyard blog, I'm guessing you can guess which use case we will build out from those examples. We're going to walk through how to setup a webhook in dbt Cloud that calls a Shipyard Fleet webhook after the dbt job finishes running.
Prerequisites for Continuing
To not bog down this post, I wanted to share the items that I have completed prior to the steps listed here:
- Create an account for dbt Cloud and Shipyard.
- Build a dbt Cloud job.
- Create a Fleet in Shipyard that downloads data from Snowflake and emails it to a stakeholder.
- Add a webhook trigger to the Fleet that you created.
After we have those prerequisites completed, we are ready to move into dbt Cloud to use the webhook that we just created.
Setup dbt Cloud to Send Webhook to Shipyard
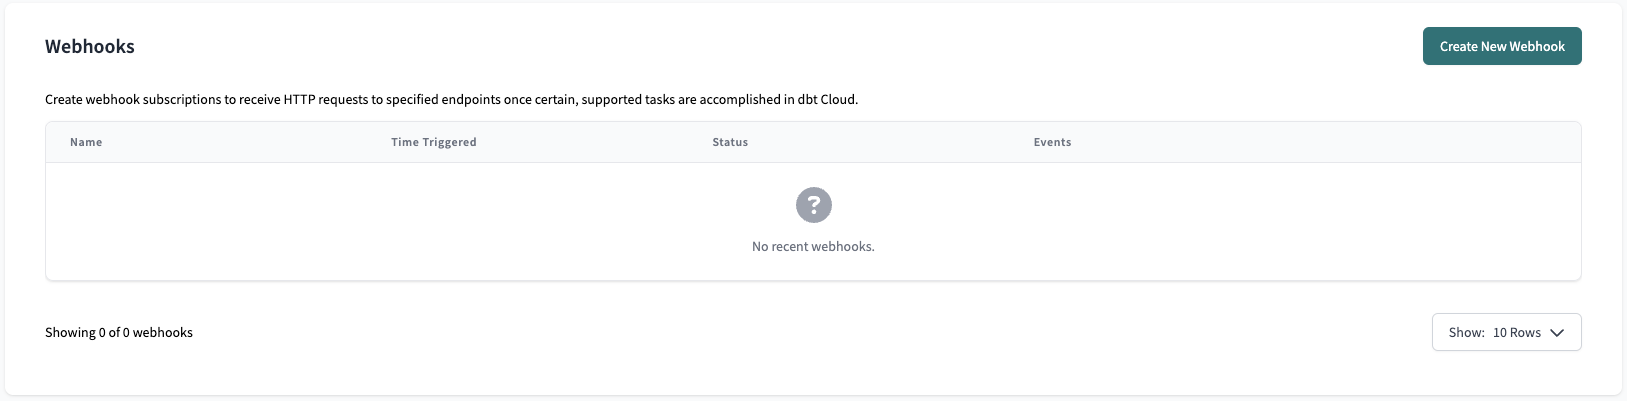
The process for using the webhook in dbt Cloud is simple once it is created. Inside of dbt Cloud, head over to the settings cog in the top right of your screen and click account settings. On the sidebar on the left, you'll be able to see the option for webhooks. Click that to take yourself down to the webhook section.
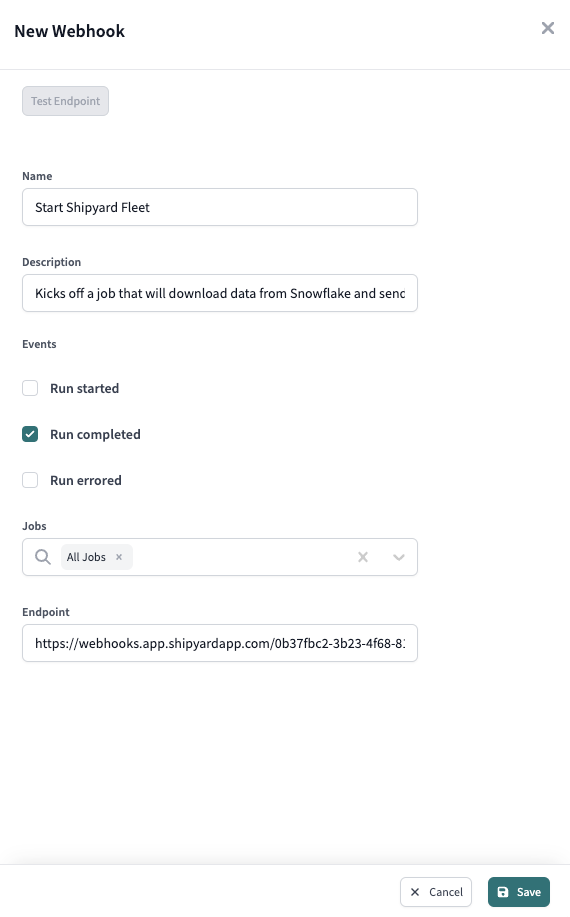
Once you click Create New Webhook, you are prompted to name and describe the webhook. You also have to choose whether the webhook will be sent after the run is complete, starting, or failed. You can also choose to have the webhook be sent for all of your dbt cloud jobs or specific runs.
Last, you'll need to paste the webhook URL that was generated in Shipyard earlier in the prerequisites. Here's what my setup looks like after choosing the options I wanted:
Testing Webhook
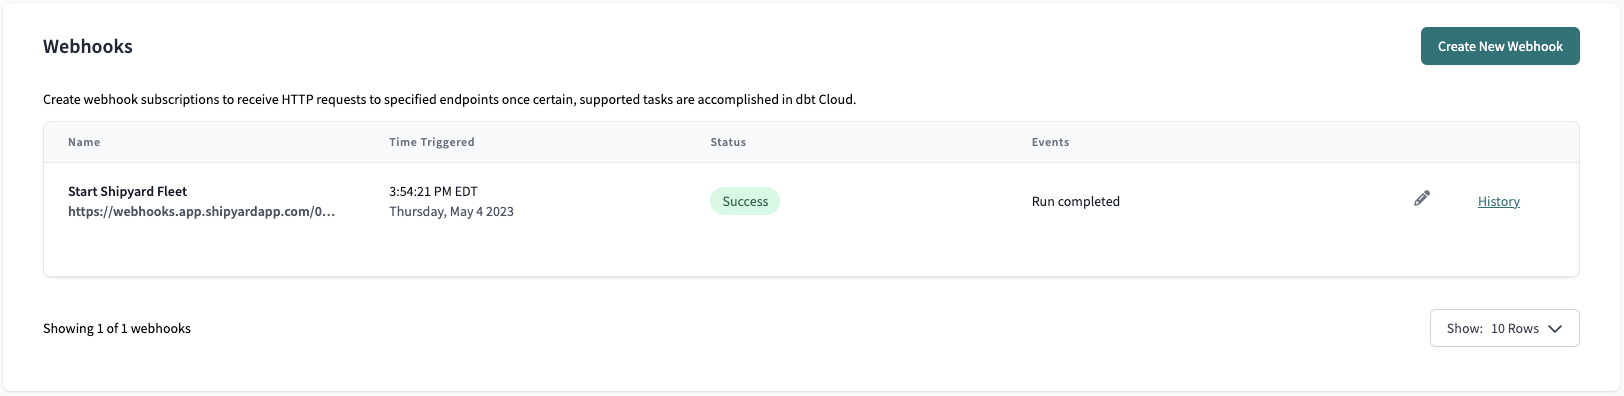
If you want to test to make sure that your webhook was called successfully, you'll need to kick off a dbt cloud job that you set for the webhook. Once the job has finished running, you'll be able to go back to the webhook settings and see when the webhook was triggered which should correlate to the finish of your job.
What if You Want to Connect More than One Vendor?
As you can see from that walk-through, dbt Cloud's new outbound webhook feature gives you the ability to connect dbt Cloud to more events downstream directly from the platform. However, what if you want to connect to a vendor before and after a dbt Cloud job? That is when a tool like Shipyard can step in to help.
You can replicate dbt Cloud's outbound webhook by adding the Execute Job dbt Cloud Blueprint to your already created Fleet which will kick off the Snowflake download after dbt Cloud is finished. This will accomplish the same task, however it will allow you to manage the full workflow from the same space.
Along with that, you are also able to add tasks to run prior to dbt Cloud. In Shipyard, you can schedule a Fivetran or Airbyte job to run then kick off the dbt Cloud job. You can also setup alerts to Slack or Email along with adding in any other vendor or custom code scripts that you'd like in your workflow with dbt Cloud.
With Shipyard and dbt Cloud, the possibilities are endless for what you can build. If you'd like to start building in Shipyard, create a free developer account and get started. If you need some nudges on where to get started, check out our dbt Cloud and Shipyard content on YouTube.


